
Your first material
From a few words to a finished, tileable PBR material you can use in your 3D software, in about five minutes.
This page takes you through the whole tool once, with the settings left as they are. Every step has its own page in this guide when you want to go further.
1. Describe it
Open PBRgen and click New material at the top of your library. Signed in, you then choose Generate from scratch.
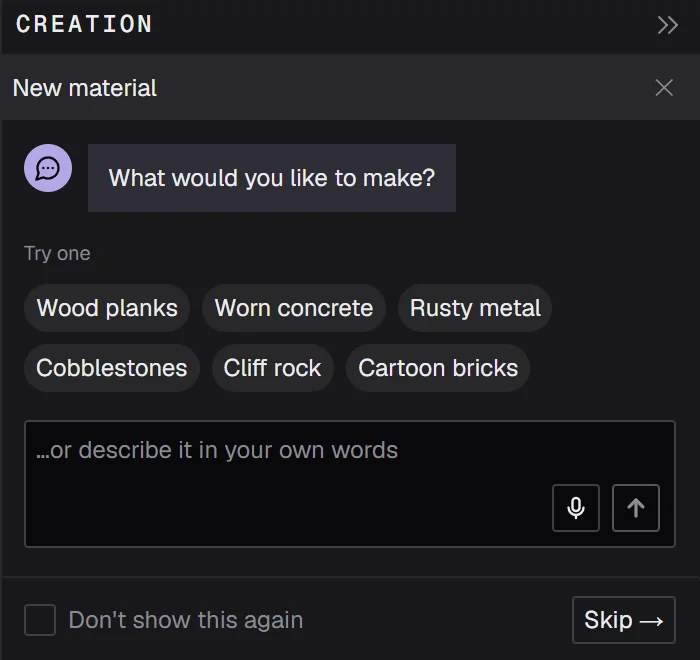
A small card asks what you want to make. Pick one of the examples, or type your own in a few words, like mossy cobblestones or weathered oak planks. PBRgen fills in the form for you. Prefer to fill it in yourself? Click Skip.
The form is step 1, Start. The prompt is all you need, and short descriptions work great. Start short and add detail from there if you want; longer descriptions work too, but you don't need them. You don't need to ask for a seamless texture or even lighting: Style, which is on by default, takes care of that.
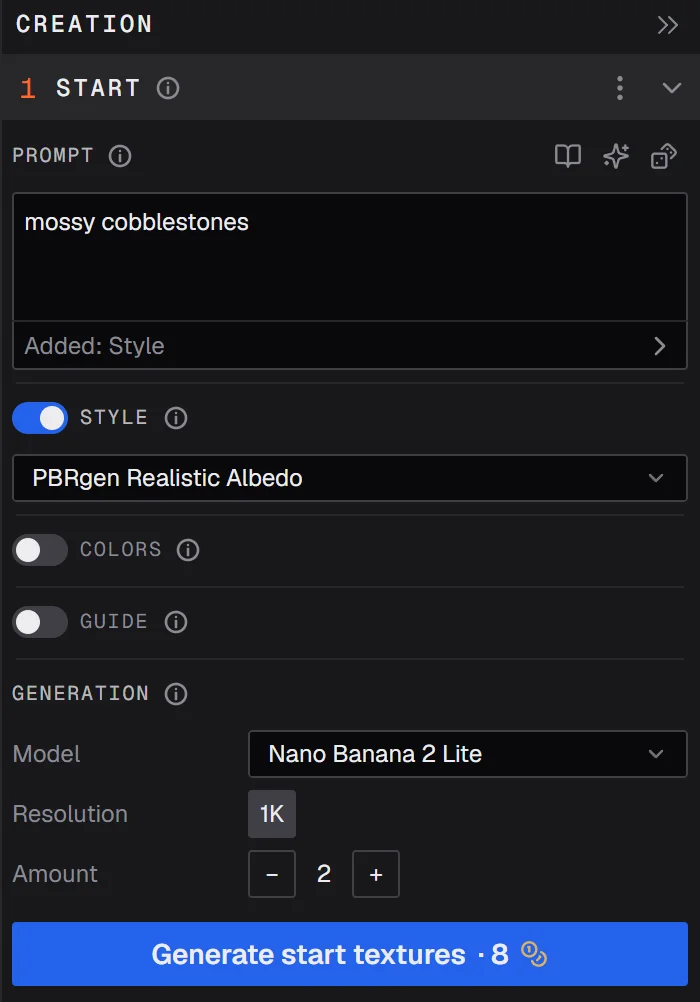
Click Generate start textures. The price in credits is on the button.
Tip: Style, Colors and Guide steer the result further: a look, a color palette, a layout. Leave them off for your first material.
2. Pick one
After a few seconds you get a set of textures. Click one to see it on the shader ball in the 3D view. Not quite right? Change the prompt and generate again: your earlier textures stay.
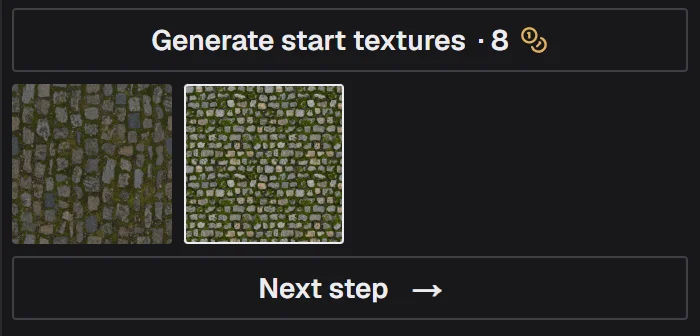
These are flat images so far, not yet a material. When you like one, click Next step and choose Create material.
Tip: Edit texture takes you to step 2 instead, where you can change the texture with a prompt, for example "remove the leaves". You can always come back to it.
3. Create the material
Step 3, Create, turns your texture into a full PBR material. It enhances the quality of the image, makes every map from it, and repaints the edges so the material tiles without seams.
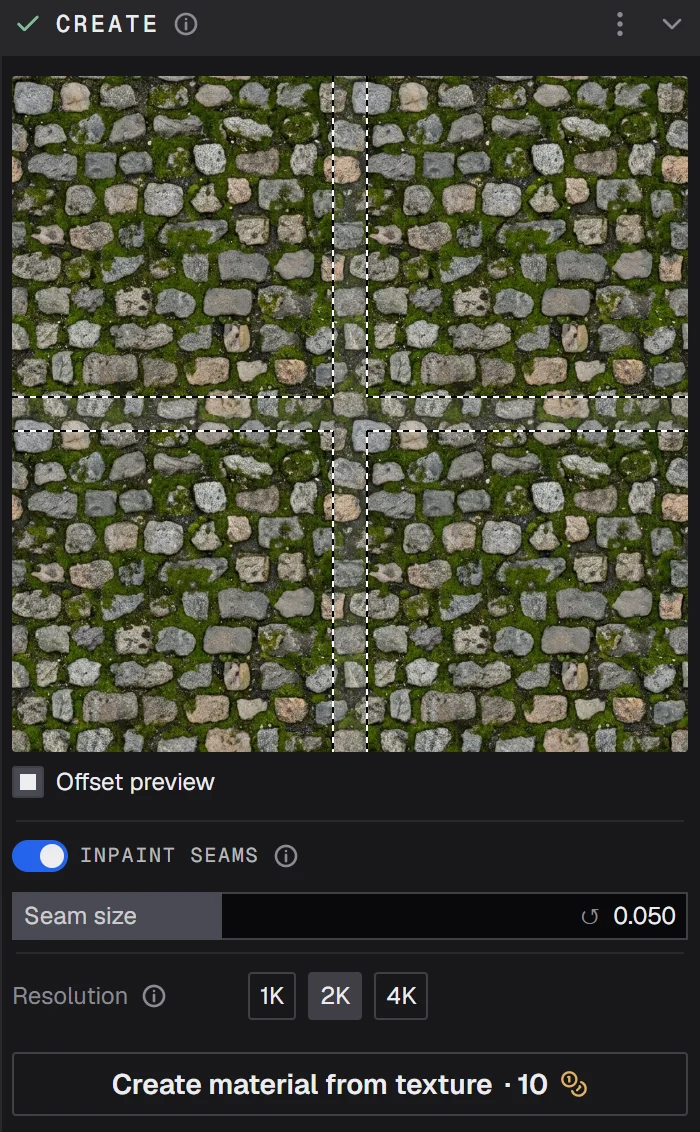
Leave the settings as they are and click Create material from texture. It takes a minute or so; you can keep working on another material meanwhile.
4. Check and fine-tune
When it's done, the shader ball shows the finished material, and step 4, Tweak, opens. Turn the ball by dragging in the 3D view, and zoom with the scroll wheel.
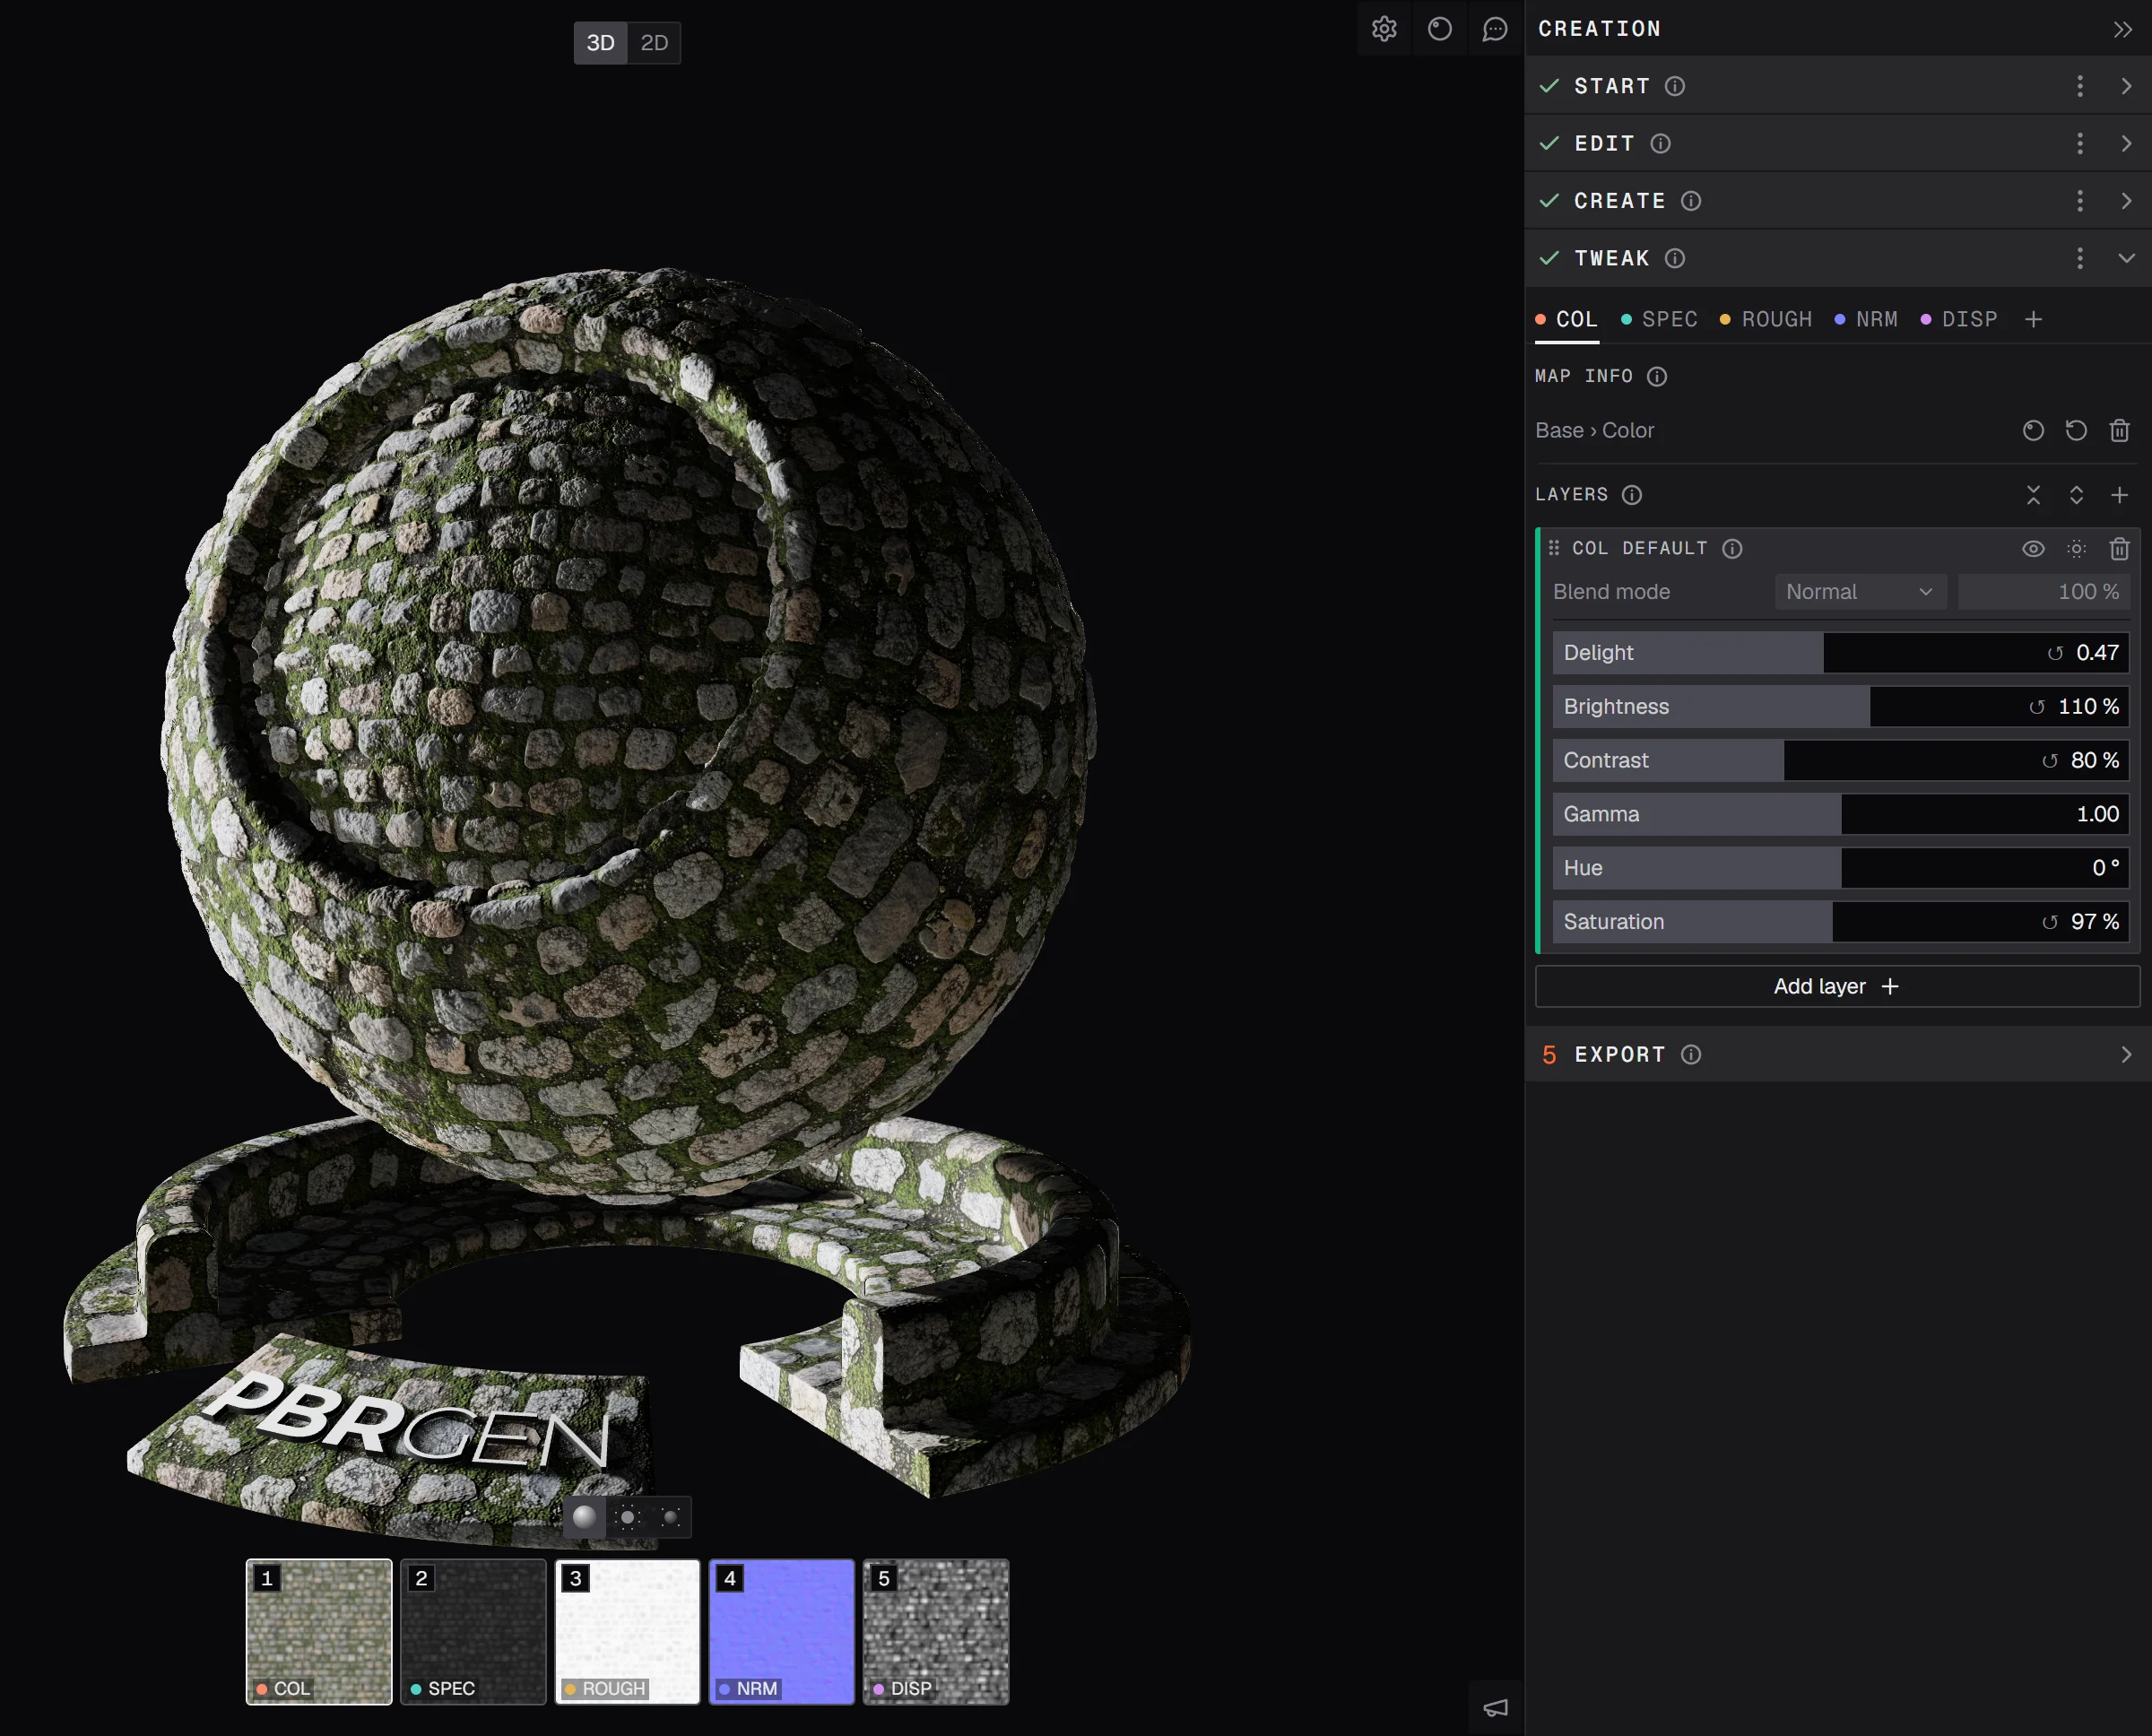
Each tab is one map. Every map starts with a layer of the controls you'll use most, such as brightness and contrast for the color, or how rough the surface is. Change a slider and the shader ball updates right away. Nothing needs changing for your first material.
5. Download it
Open step 5, Export. Give the material a name, choose the software you use, and click Download material.
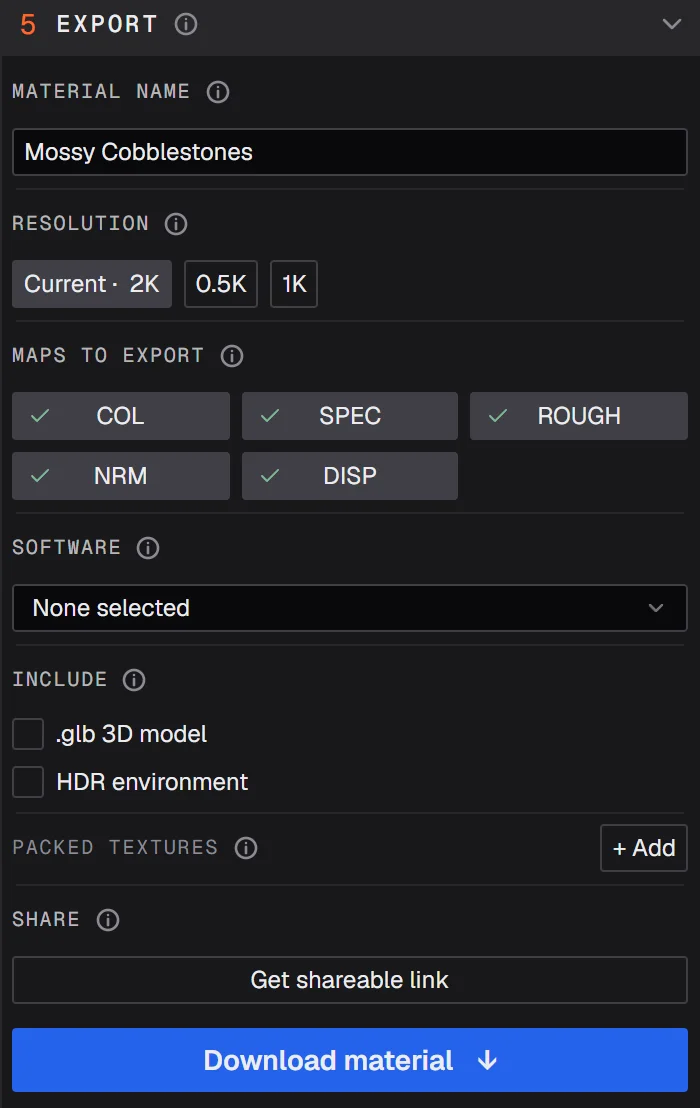
You get a zip with every map as a PNG, plus a MaterialX and a USD file that most 3D software can open. For Blender there's an add-on that sets the whole material up for you.
That's it: your first material. It's saved in your library, so you can come back to it at any time.
Where to go from here
- Try Start from an image in the New material menu to make a material from your own photo.
- Read about what PBRgen makes if the maps are new to you.
Prefer video? Our tutorials are on YouTube.