
4Tweak
Step 4: fine-tune every map with layers. Adding maps, normal and displacement settings, blend modes and every layer type.
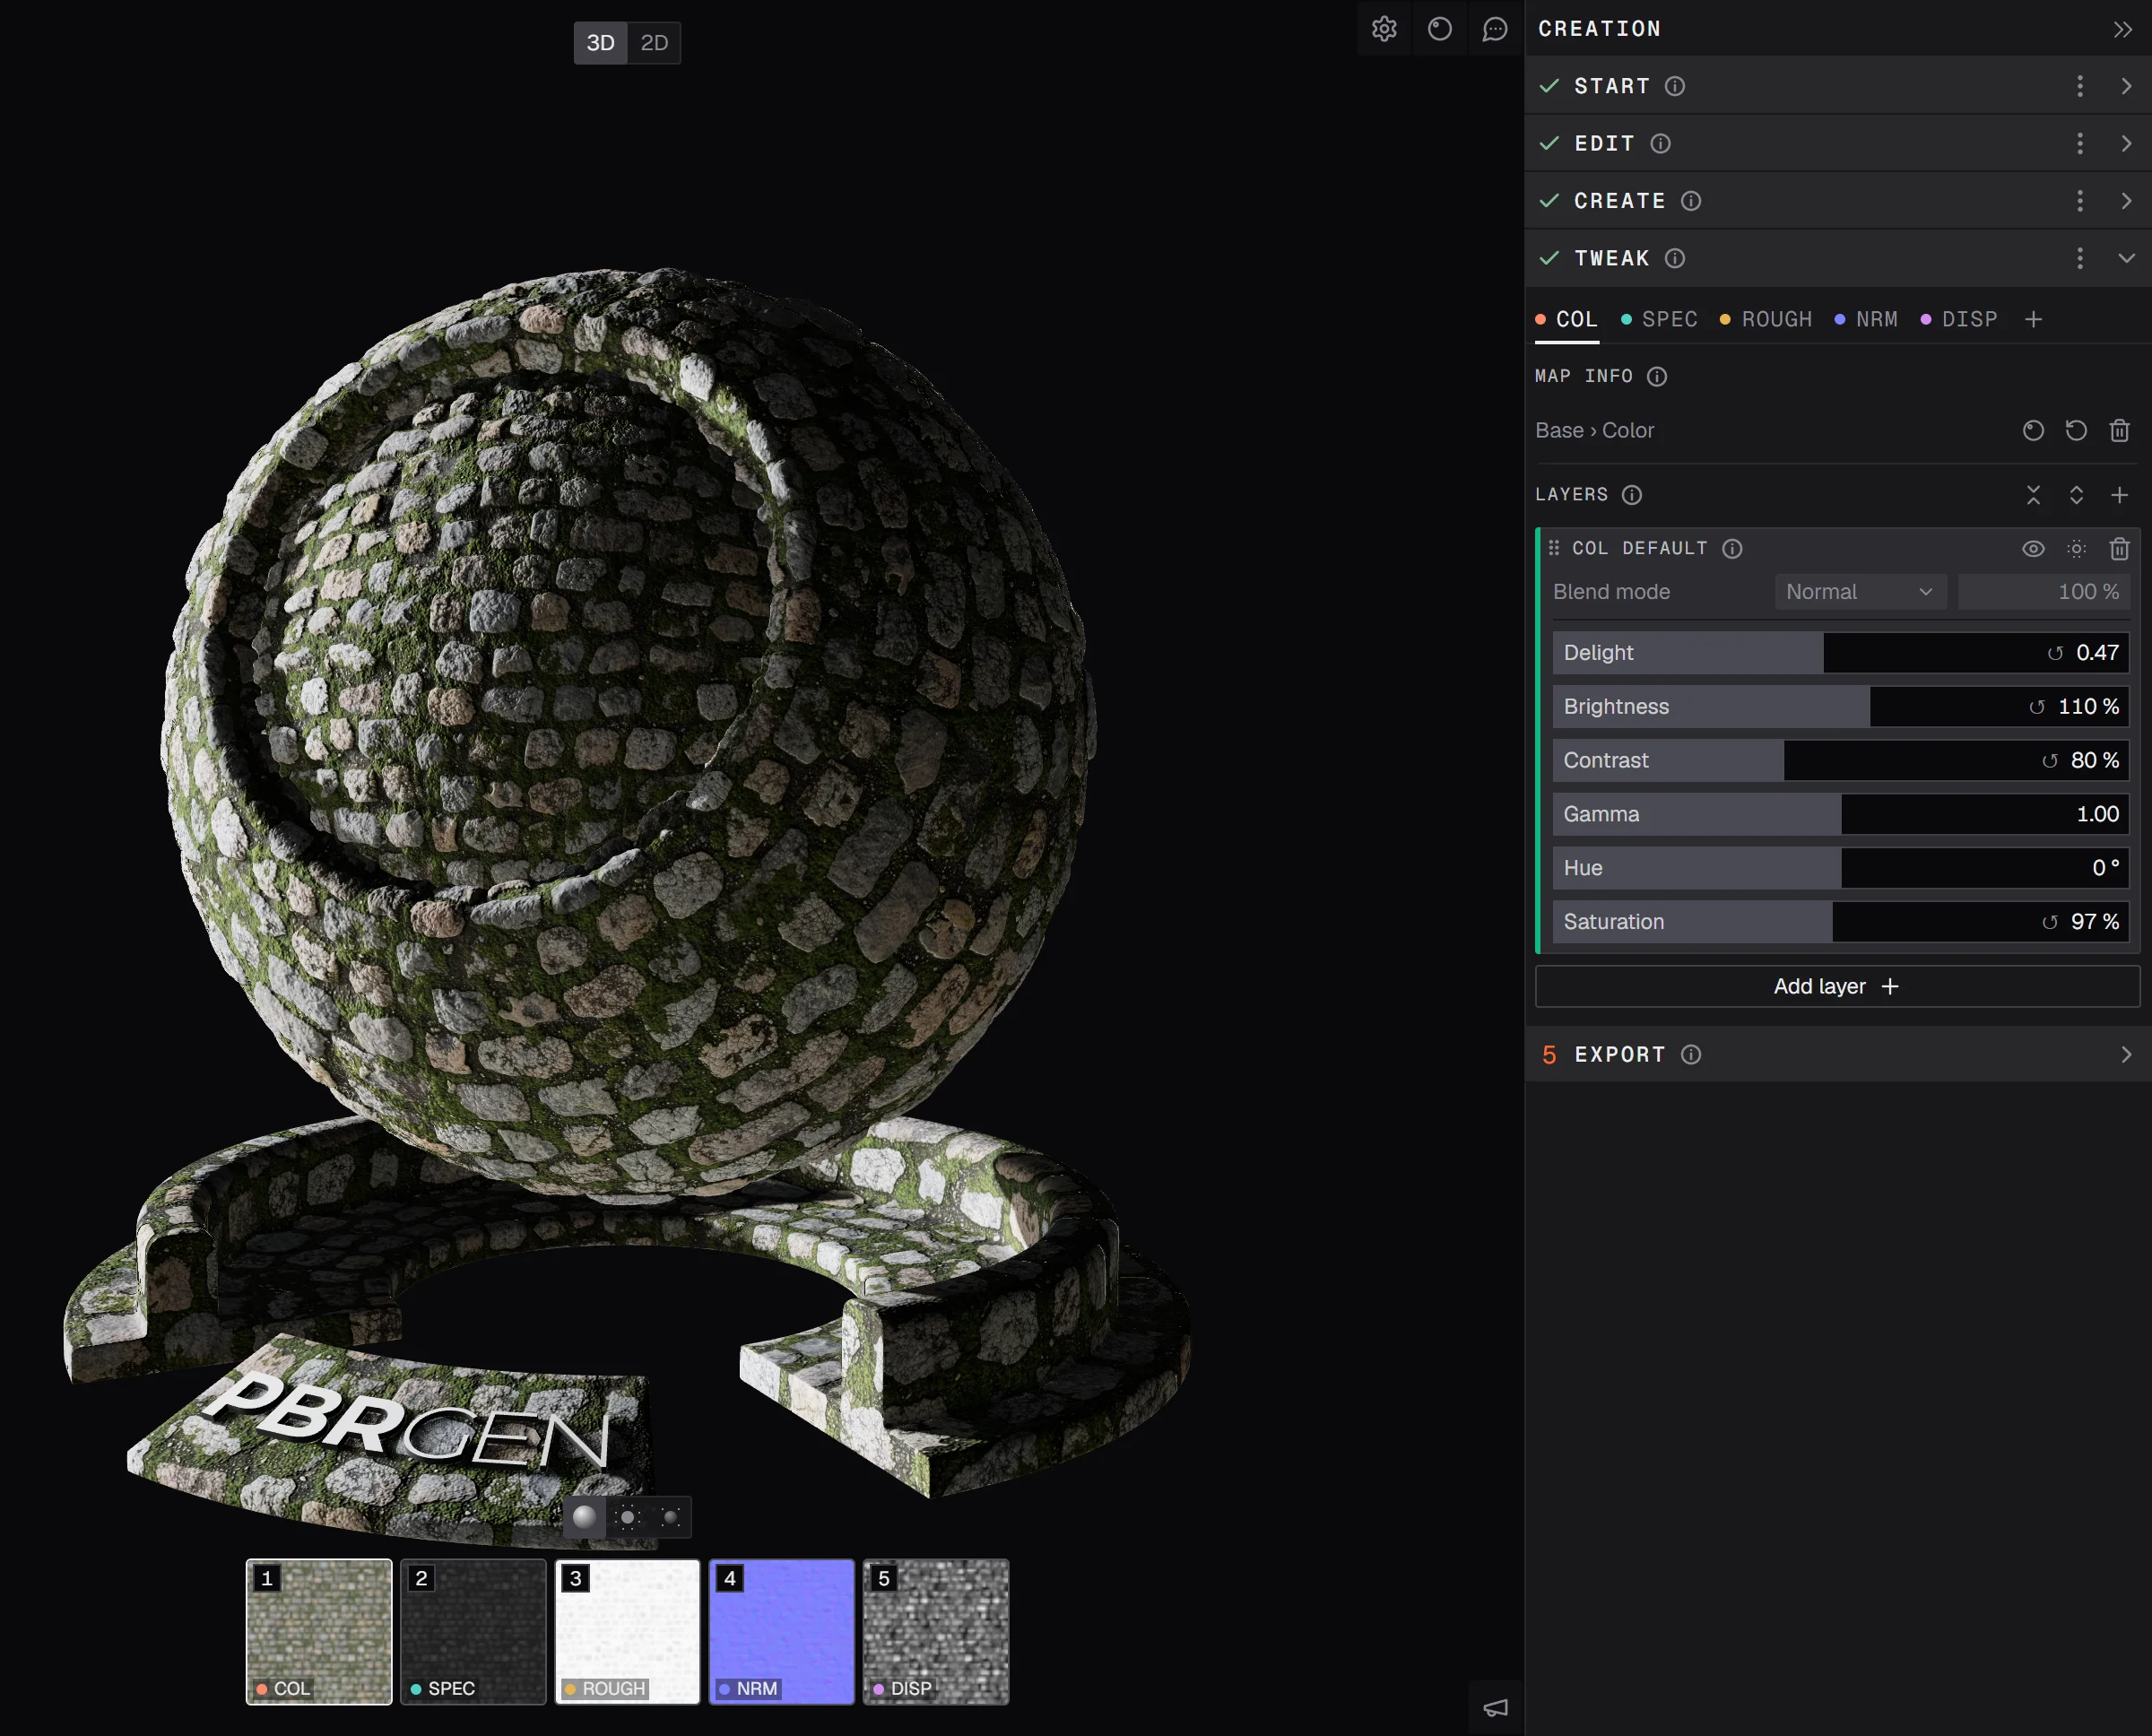
Step 4 is where you fine-tune the finished material by hand. Every map has its own stack of layers, like a small image editor per map, and the shader ball updates as you work. Nothing here costs credits.
Maps
The tabs

Each tab is one map of the material, in the order the shader uses them: COL, MTL (metals only), SPEC, ROUGH, then any added maps, then NRM and DISP. Hover a tab to see the map's full name. The number keys 1 to 9 and 0 pick a map too, in the same order as the tabs and the map tiles under the 3D view.
Adding a map
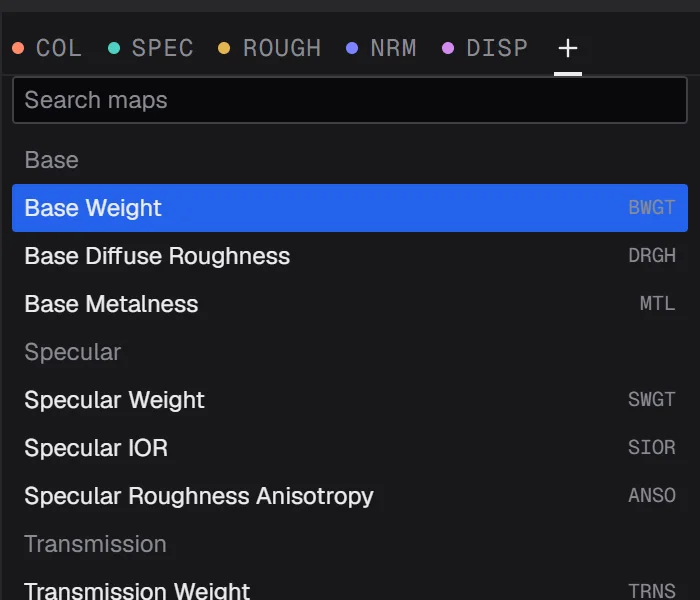
The + after the tabs opens a list of every map a material can have, grouped like the shader: Base, Specular, Transmission, Subsurface, Coat, Fuzz, Thin Film, Emission and Geometry. Type to search by name, by short code (like CNRM) or by group. Use the arrow keys and Enter, or click, to add one.
A map you took out comes back here too, as it was. How many extra maps fit depends on your graphics card; when you reach the limit, the list says so.
Map info
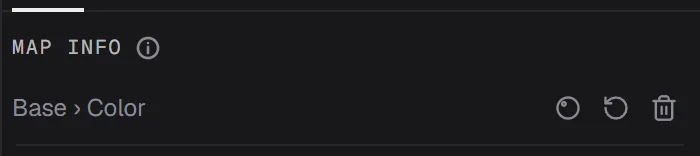
The top of each tab shows which shader input the map drives, for example Base › Color. Its three buttons:
- Show in the Shader window: opens the Shader window at this input.
- Reset this map: puts its layers and settings back to how they started. You're asked first, because your changes to it are lost.
- Disconnect this map: takes the map out of the material and the export. You're asked first. A standard map can be put back from the +; an added map is removed with its layers.
Normal and displacement settings
The NRM and CNRM tabs, and the DISP tab, have settings that act on the finished map on its way into the shader, after all its layers.
Normal settings
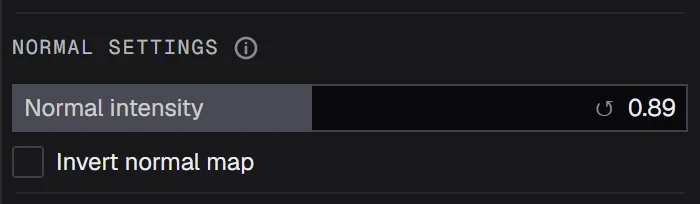
- Normal intensity: how strongly the bumps catch the light.
- Invert normal map: turns bumps into dents, for a surface that should go in rather than out.
Displacement settings
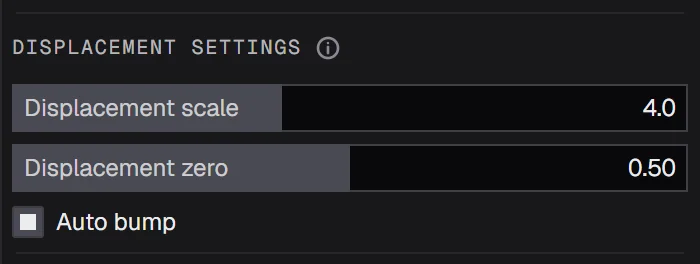
- Displacement scale: how far the height map pushes the surface out.
- Displacement zero: which gray is the flat surface. Lighter than this pushes out, darker pulls in.
- Auto bump: also uses the height map for fine shading detail, on top of the normal map.
Layers
How the stack works
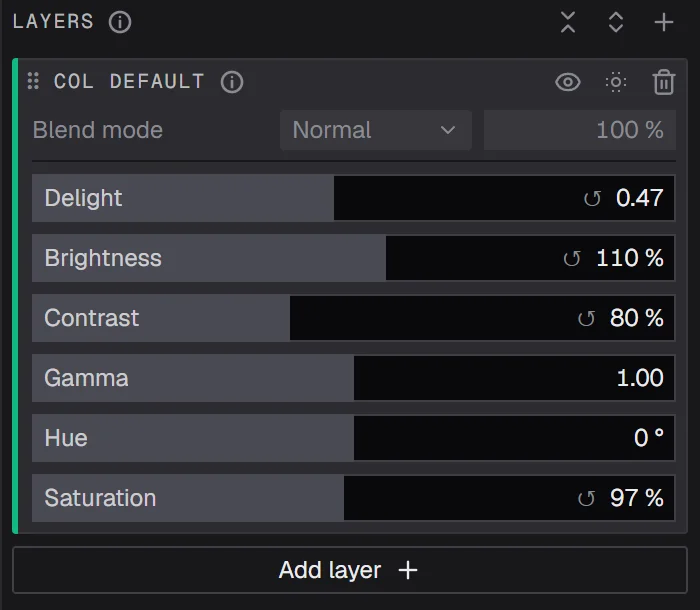
The layers of a map are worked out from the top down: each layer is laid over the ones above it, so the bottom of the list is what you see. There are two kinds:
- Layers bring something in: a map, a color, noise.
- Adjustments change everything above them: brighter, blurrier, inverted.
Every map starts with one layer: its default layer, named after the tab (COL default, ROUGH default). It has the controls you'll use most for that map. Often that's all you need.
Working with layers
- Click a layer to open or fold its settings.
- Drag a layer to move it up or down.
- Double-click its name to rename it.
- The eye hides a layer. A hidden layer is shown darker, with its name struck through.
- Preview up to here shows the map as it is at this layer, ignoring everything below it. Click it again to show all layers.
- The bin removes the layer.
- The buttons above the list fold all layers, open all of them, or add one. So does Add layer at the bottom.
Blend mode and opacity

Every layer, adjustments too, has a blend mode and an opacity, shown above the settings of the selected layer. The blend mode decides how the layer mixes with the ones above it, as in Photoshop: Normal, Multiply, Screen, Overlay, Soft Light, Hard Light, Darken, Lighten, Color Dodge, Color Burn, Difference, Exclusion, Add, Hue, Saturation and Color. Opacity fades the layer in or out.
A folded layer that isn't Normal at 100% shows its blend mode and opacity on its row, so you can read the whole stack at a glance.
Adding a layer

Add layer opens a list of everything you can add to this map, with a search box. Click one, or use the arrow keys and Enter. Esc closes the list.
Layer types
Base Color (COL default)
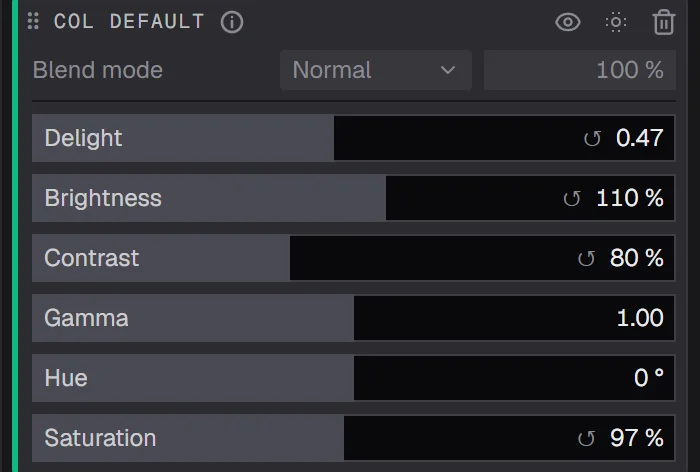
The color map's default layer.
- Delight: blends from the original color (0) to the color with its lighting and shadows taken out (1). Raise it for a photo with light baked in.
- Brightness, Contrast, Gamma: the overall tone. Gamma moves the midtones without touching black and white.
- Hue, Saturation: shift the colors, or make them stronger or duller.
Value Map (MTL, SPEC and ROUGH default)
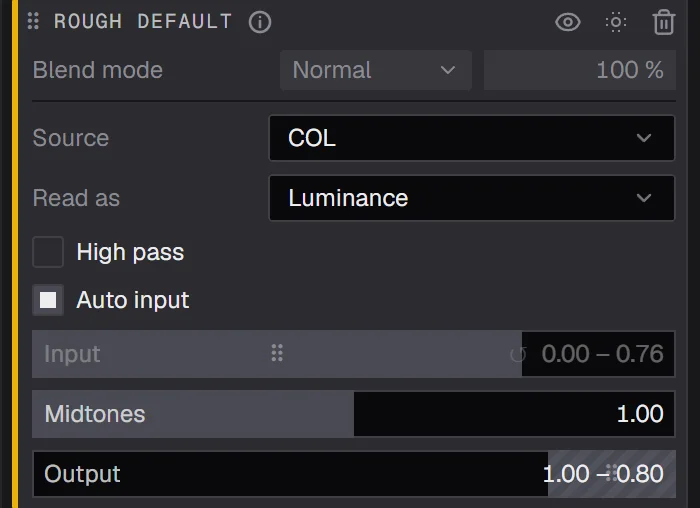
The default layer of a gray map. It turns a picture into this map's values:
- Source and Read as: which map it reads (usually COL), and which part of it, such as its luminance.
- High pass: keeps only the fine detail of the source, at the Radius you set. Handy for roughness that follows scratches and pores.
- Auto input: finds the source's own darkest and brightest points and uses those as the Input range.
- Input: the range of the source that's used. Everything below it becomes the low end of the output, everything above it the high end.
- Midtones: brightens or darkens the middle grays.
- Output: the range of values the map ends up with. Drag the two ends past each other to invert the map.
Tip: on ROUGH, the Output range is the quickest way to make the whole surface shinier or more matte.
Map
Brings in another map of this material, or the layers above (Layers below in the list, under Advanced). Under Advanced:
- Convert: use the map as it is, turn a height map into a normal map, or keep only its fine detail (high pass, with a Radius).
- Channel: read the full color, or only red, green, blue, luminance or saturation.
- Invert: flips the values. On a normal map it's Invert normals.
Color
A solid color, set with the color picker. Useful to tint a map, or as a base value to blend other layers over.
Noise
Seamless procedural noise: Clouds, Ridges, Cells, Cracks or Grain.
- Scale: how many cells fit across the tile.
- Detail: adds finer layers of the same noise.
- Contrast: how strong the noise is.
- Warp: bends the pattern.
- Seed: gives another random pattern of the same kind.
Grain has no Detail or Warp.
Color Correct (adjustment)
Brightness, Contrast and Gamma in one layer, plus Hue and Saturation on a color map. It works on everything above it.
Levels (adjustment)
Remaps the tones of everything above it: Input black and white points, Gamma for the midtones, and the Output range. Auto input sets the input points from the image. Drag the ends of a range past each other to invert.
Invert (adjustment)
Inverts everything above it. Amount goes from 0 (nothing) to 100% (fully inverted).
Blur (adjustment)
Blurs everything above it, by Radius. Useful to smooth detail or soften hard edges.
Watching a map while you work
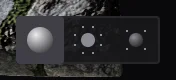
Click a map tile under the 3D view, or use the view modes under the shader ball, to see a single map on the ball. Press V to see the current map flat in the 2D view. See 3D view for the view modes.
Every slider here works the same way: drag anywhere on it, double-click to reset. See Sliders and fields.
Prefer video? Our tutorials are on YouTube.