
1Start
Step 1: make the image your material starts from. Generate it from a prompt with Style, Colors and Guide, or upload your own and crop or straighten it.
Step 1 makes the image your material starts from, the start texture. Everything after it, the maps, the seams, the finish, is built from this image, so it pays to get it right here.
Two ways to start
Click New material at the top of your library and choose:
- Generate from scratch: describe the texture and let AI make it. Most of this page is about this.
- Start from an image: use your own photo or texture. See Upload your own image. This needs a paid plan.
As a guest, New material always starts with generating.
A new material first shows a small card that asks what you want to make. Pick an example or type a few words, and PBRgen fills in the form for you. Skip takes you straight to the form, and Don't show this again turns the card off for good.
Generate a texture
Prompt
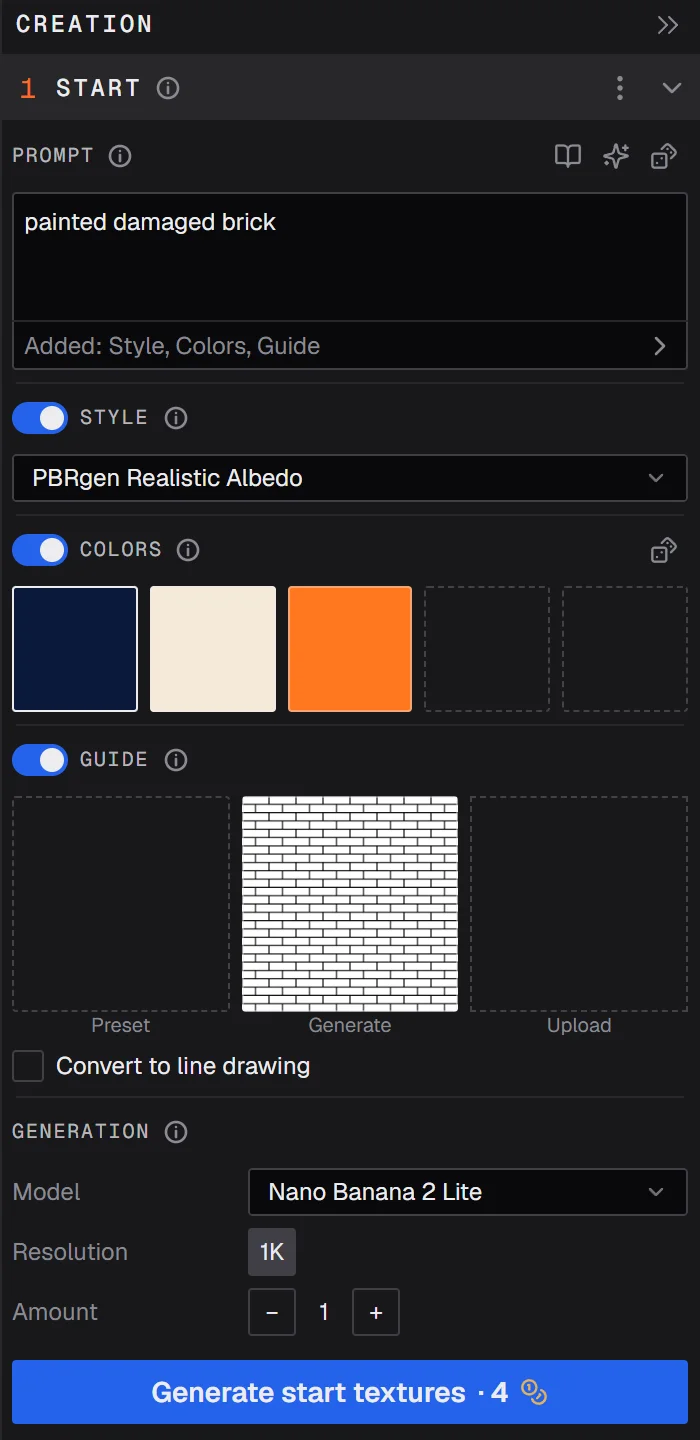
Describe the surface in a few words: weathered oak planks, mossy cobblestones, rusty corrugated metal. Short prompts work great: say what the surface is and what state it's in. Start short and build it up from there. Longer, more detailed prompts work too, but you don't need them. You don't need to ask for a seamless texture, even lighting or a top-down view: Style, on by default, takes care of those.
The three buttons above the prompt:
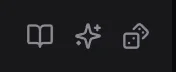
- Presets: example prompts by material type, from asphalt to wood. Pick one to load it.
- Enhance: rewrites your prompt with AI, adding detail.
- Surprise me: loads a random preset.
You can also drag an image onto the prompt, or paste one with Ctrl+V while your mouse is over it. PBRgen then writes a prompt that describes the image.
Prompt tips. While you type, some words get a colored highlight and a small card explains why, for example that seamless isn't needed, or that colors are better set under Colors. Hover over a tip to see which setting it points to. Never show again turns the tips off.
Style
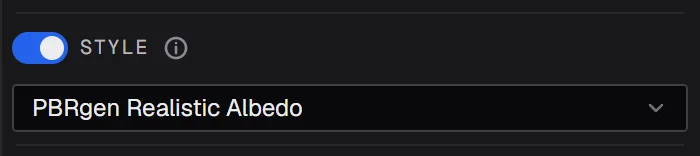
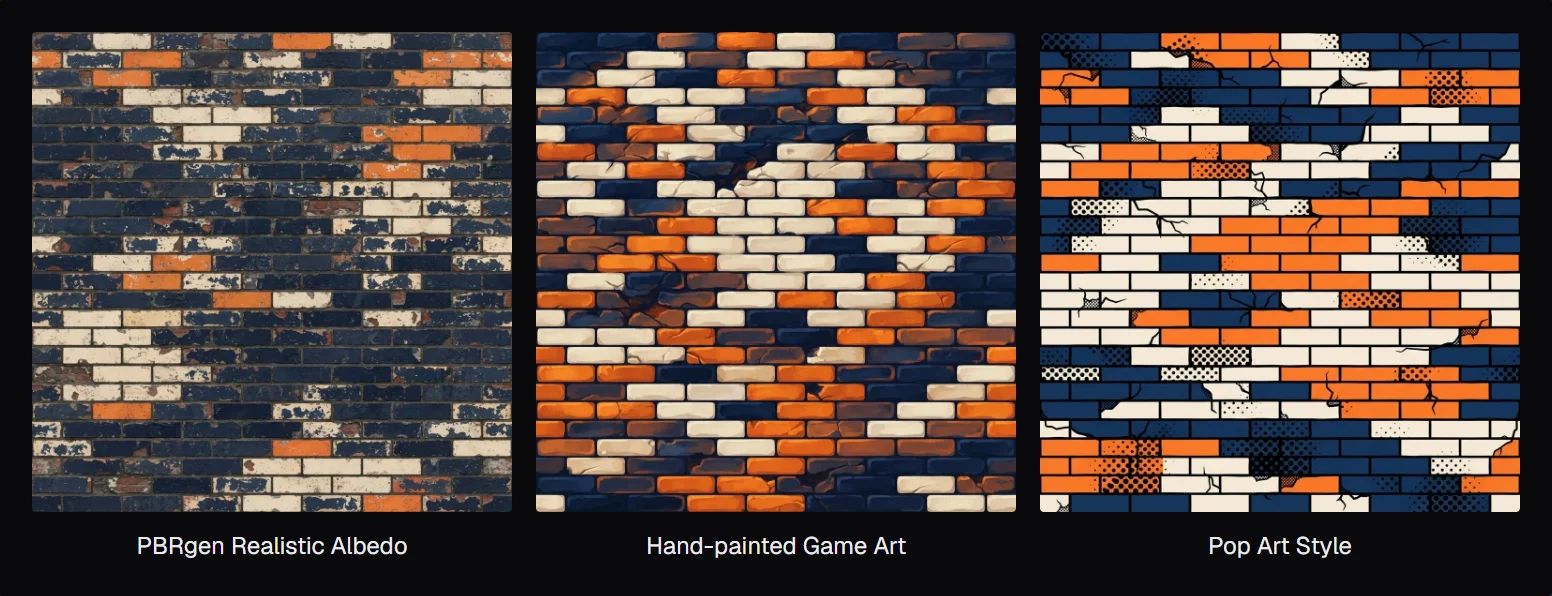
Style sets the look: PBRgen Realistic Albedo for photographic textures (the default), or a stylized look such as hand-painted game art, cartoon, watercolor, pencil drawing or oil painting. Every style also asks for a seamless texture without harsh lighting.
Custom lets you write the style text yourself. Drag an image onto Style, or paste one with Ctrl+V while your mouse is over it, to have its style described and used.
Colors
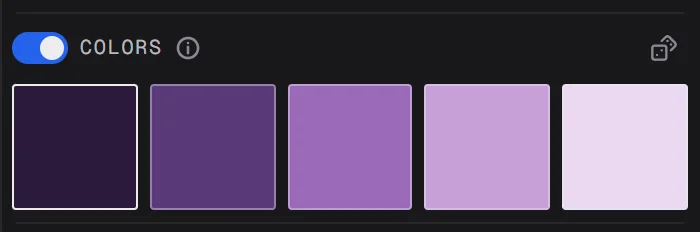
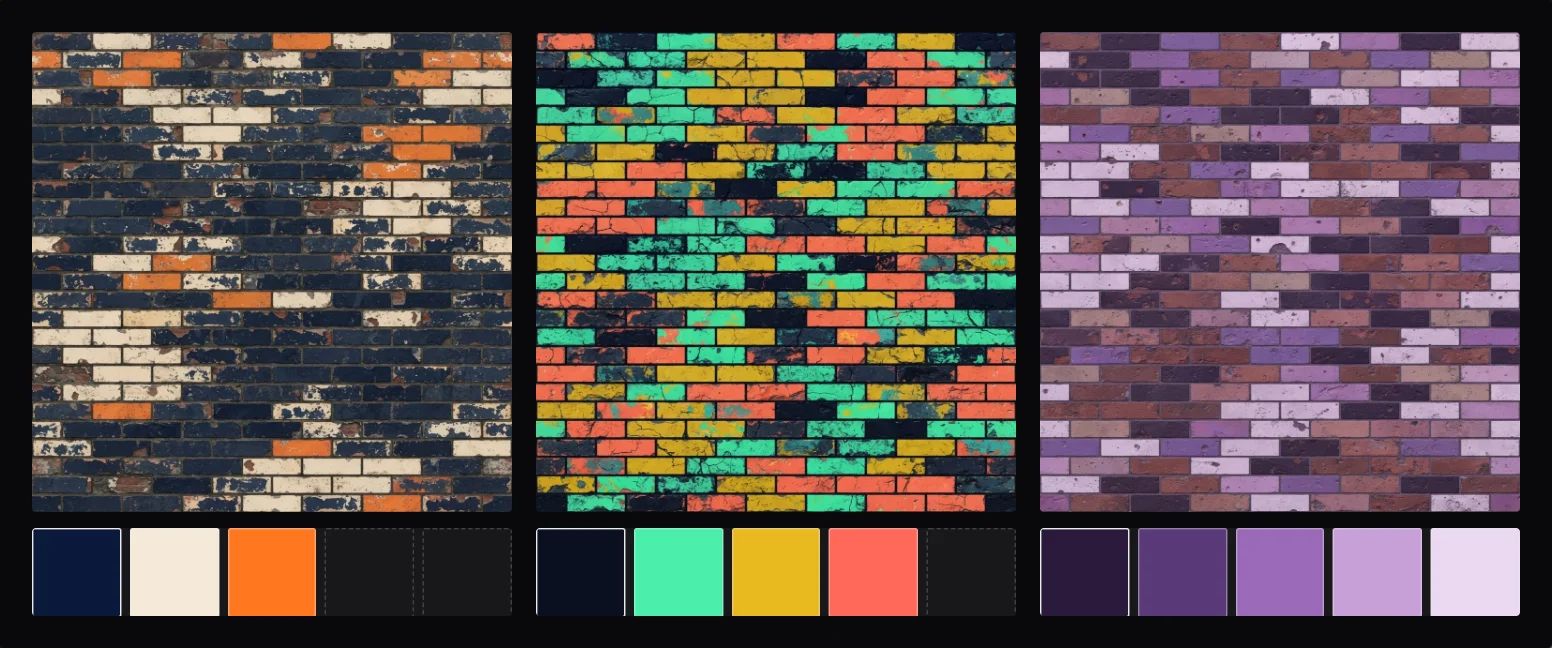
Up to five colors the texture should aim for, to match a palette or a brand. Click a swatch to choose its color; the picker has an eyedropper that picks a color from anywhere on screen. Hover a swatch and click the bin to remove it. The dice loads a random color combination.
Drag an image onto Colors, or paste one with Ctrl+V while your mouse is over it, to take its main colors.
Guide
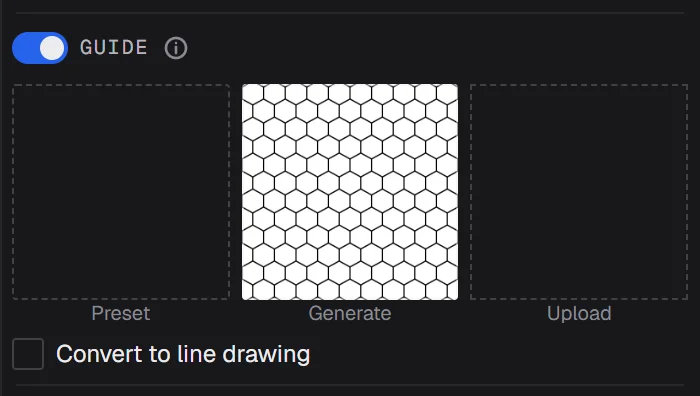
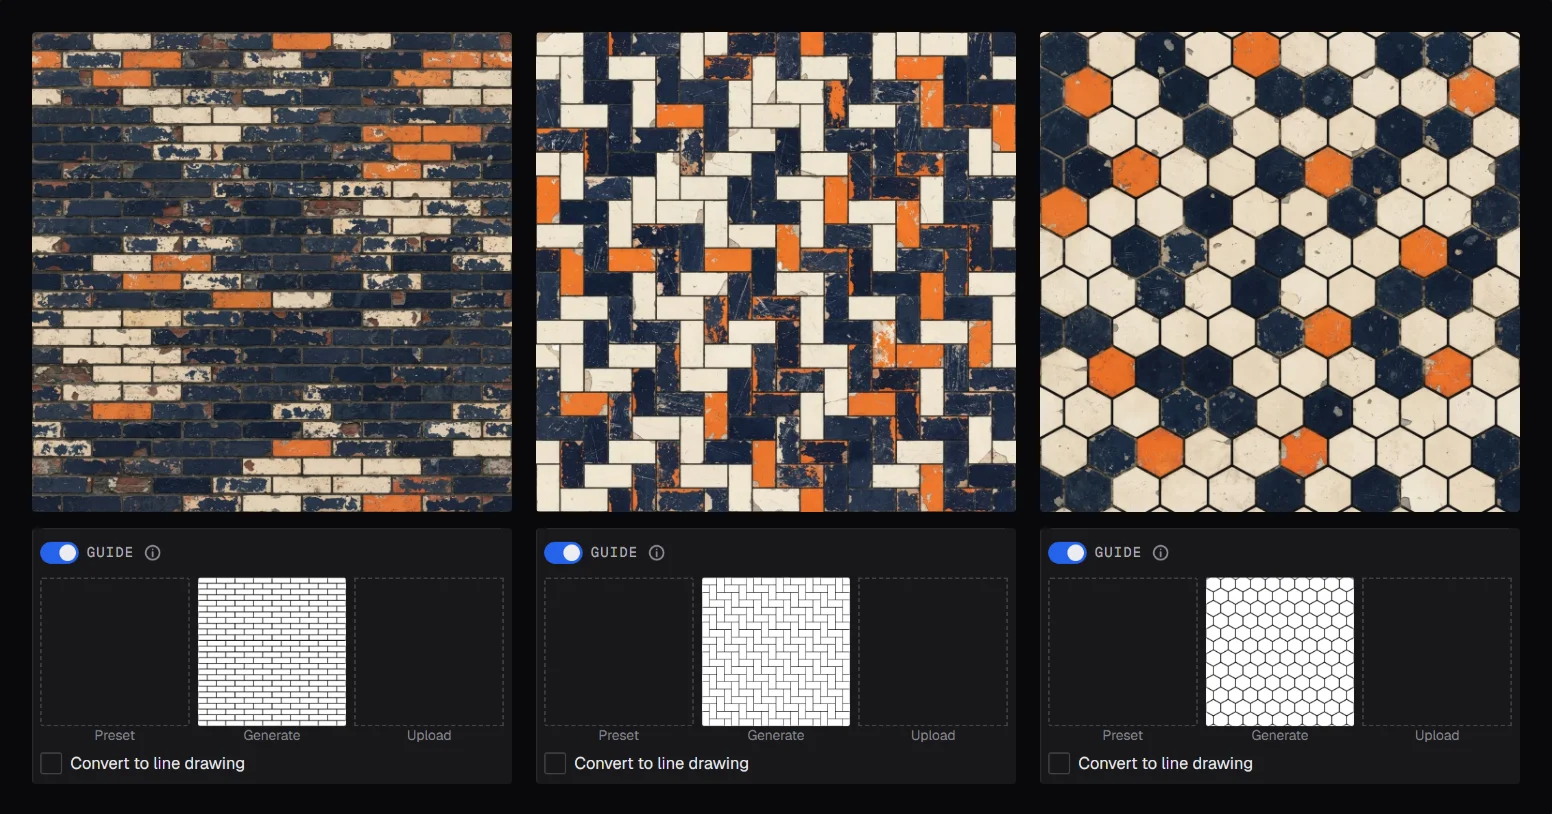
A guide is an image that steers the layout of the texture: where the bricks, planks or tiles go and how big they are. Your prompt and Style still decide what it looks like. It's the way to get, say, exactly twelve rows of bricks, or a herringbone floor.
There are three ways to get a guide:
- Preset: opens a collection of layouts in the 3D view, such as bricks, planks, chevron, herringbone and hexagon tiles. Click one to use it.
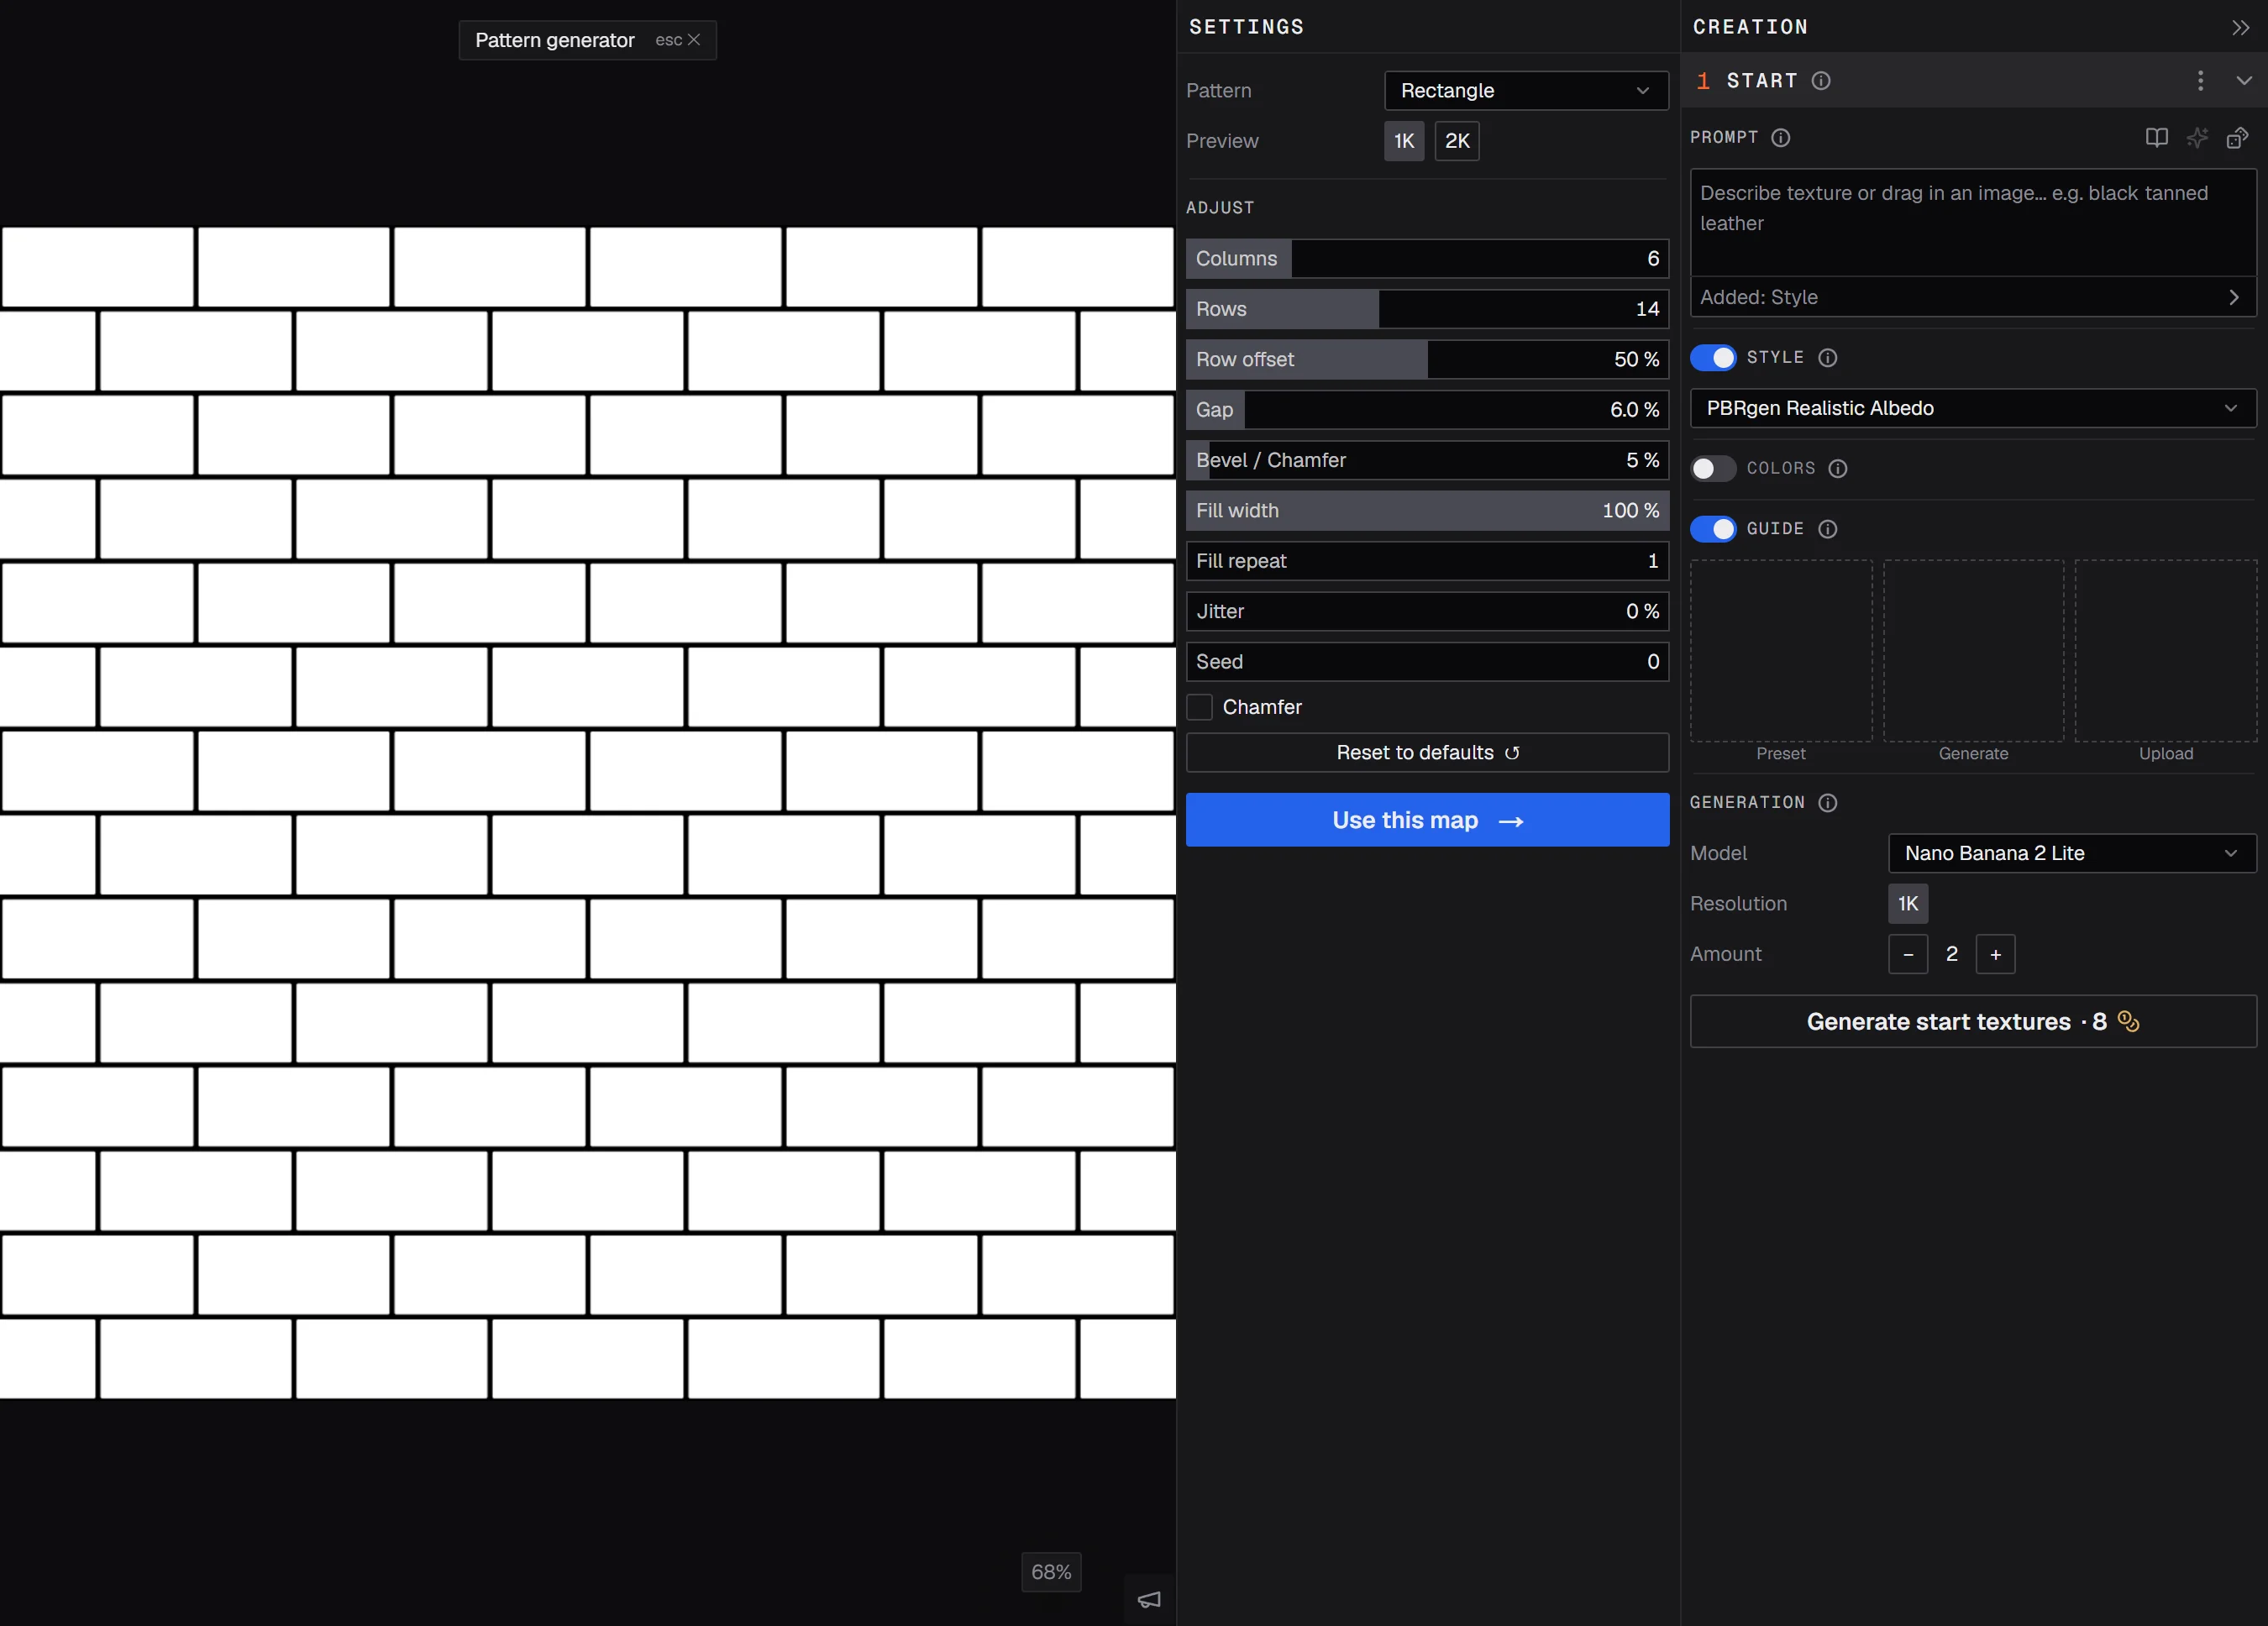
- Generate: opens the pattern generator. Choose a pattern (rectangle, triangle, hexagon, herringbone, chevron, basketweave and more), adjust it with sliders such as columns, rows, gap and bevel, and click Use this map. Reset to defaults starts the pattern over.
- Upload: use your own layout. Click the box, drag an image onto it, or paste one. A guide is there for the layout, not the look: a colored image can push its colors into the texture. For a colored image, switch on Convert to line drawing below, so only its shapes are used.
Convert to line drawing turns the guide into thin outlines first, shown next to it as Lines. Outlines steer the layout more loosely and never push their colors into the texture. Low / High sets how many lines are kept: drag it and the lines show for a moment in the 3D view.
The eye on a guide shows it full size in the 3D view.
What is added to your prompt
Style, Colors and Guide each add a sentence to what is sent to the AI. The row under the prompt lists what is added, for example Added: Style, Colors. Click it to read those sentences. Click edit next to one to change its wording for this material.
Generation settings
- Model: the AI that makes the textures. Models differ in look, quality, speed and price; the list says what each is good at.
- Resolution: the size of each texture: 1K, 2K or 4K, as far as the model supports it. Bigger takes longer and costs more.
- Amount: how many textures to make in one go, 1 to 4.
Click Generate start textures. The price in credits is on the button. As a guest you get 6 free generations with a choice of three models; sign up for 100 credits to keep going.
Working with the results
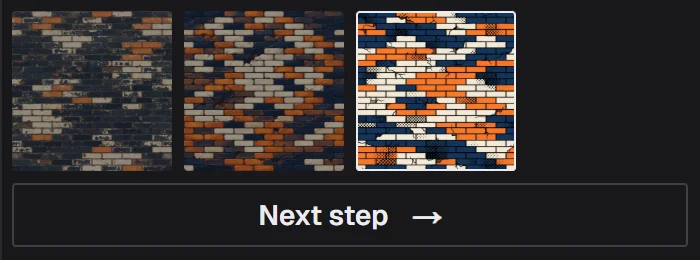
The textures appear under the button. Generate again and the new ones are added: nothing is lost.
- Click a texture to select it. It shows on the shader ball in the 3D view. The arrow keys move the selection: left and right by one, up and down by a row.
- The eye (bottom right, on hover) shows it full size in the 2D view.
- The bin (top right, on hover) deletes it.
- The ⋮ menu (top left, on hover) has more:
- Generate prompt from image: writes a prompt from this texture, to make variations of it.
- Load inputs: puts back the exact prompt and settings this texture was made with.
- Load into new material: starts a new material with this texture.
- Delete
Tip: found a great texture three generations ago and lost track of how? ⋮ → Load inputs brings the form back to exactly those settings.
When you've picked one, click Next step:
- Create material goes straight to step 3, Create and makes the full material.
- Edit texture goes to step 2, Edit first, to change the texture with a prompt.
Upload your own image
Choose New material → Start from an image. This needs a paid plan.
Click the empty box to choose a file, drag an image onto it, or paste one with Ctrl+V. Any size or shape works: by default PBRgen uses the largest square from the middle of the image. To choose the part yourself, or to straighten a photo taken at an angle, switch on Adjust crop & perspective (see below).
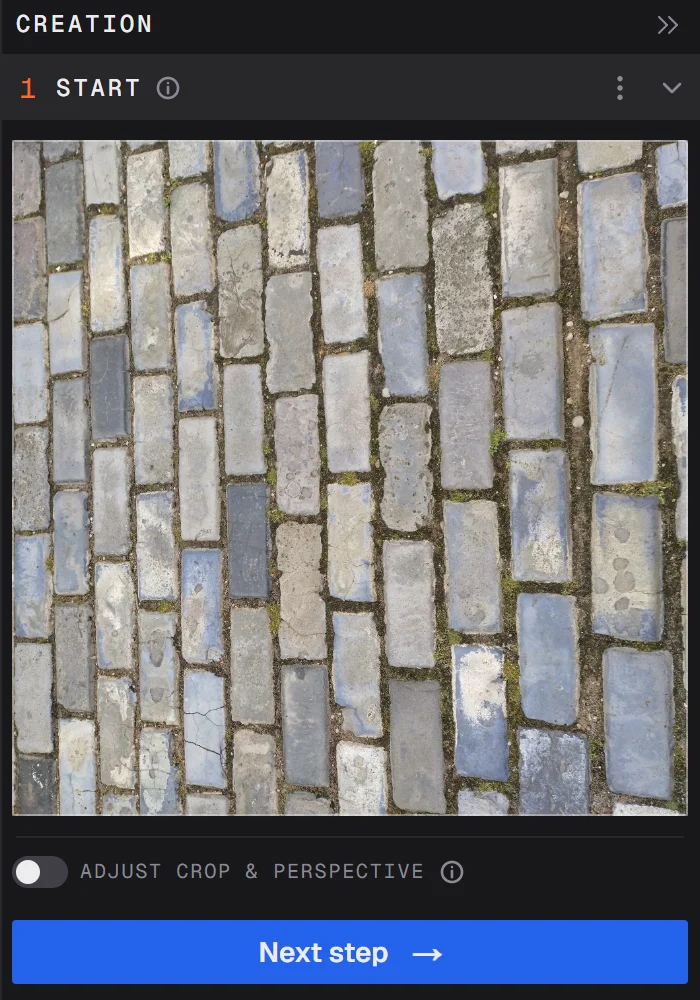
Then click Next step and choose Create material or Edit texture, as with a generated texture.
Material from a photo walks through this from start to finish, with tips for taking the photo.
Crop & perspective
Switch on Adjust crop & perspective under your uploaded image. The editor opens in the 3D view, with its settings in a column next to the steps. The same editor is in step 2, for an edited texture.
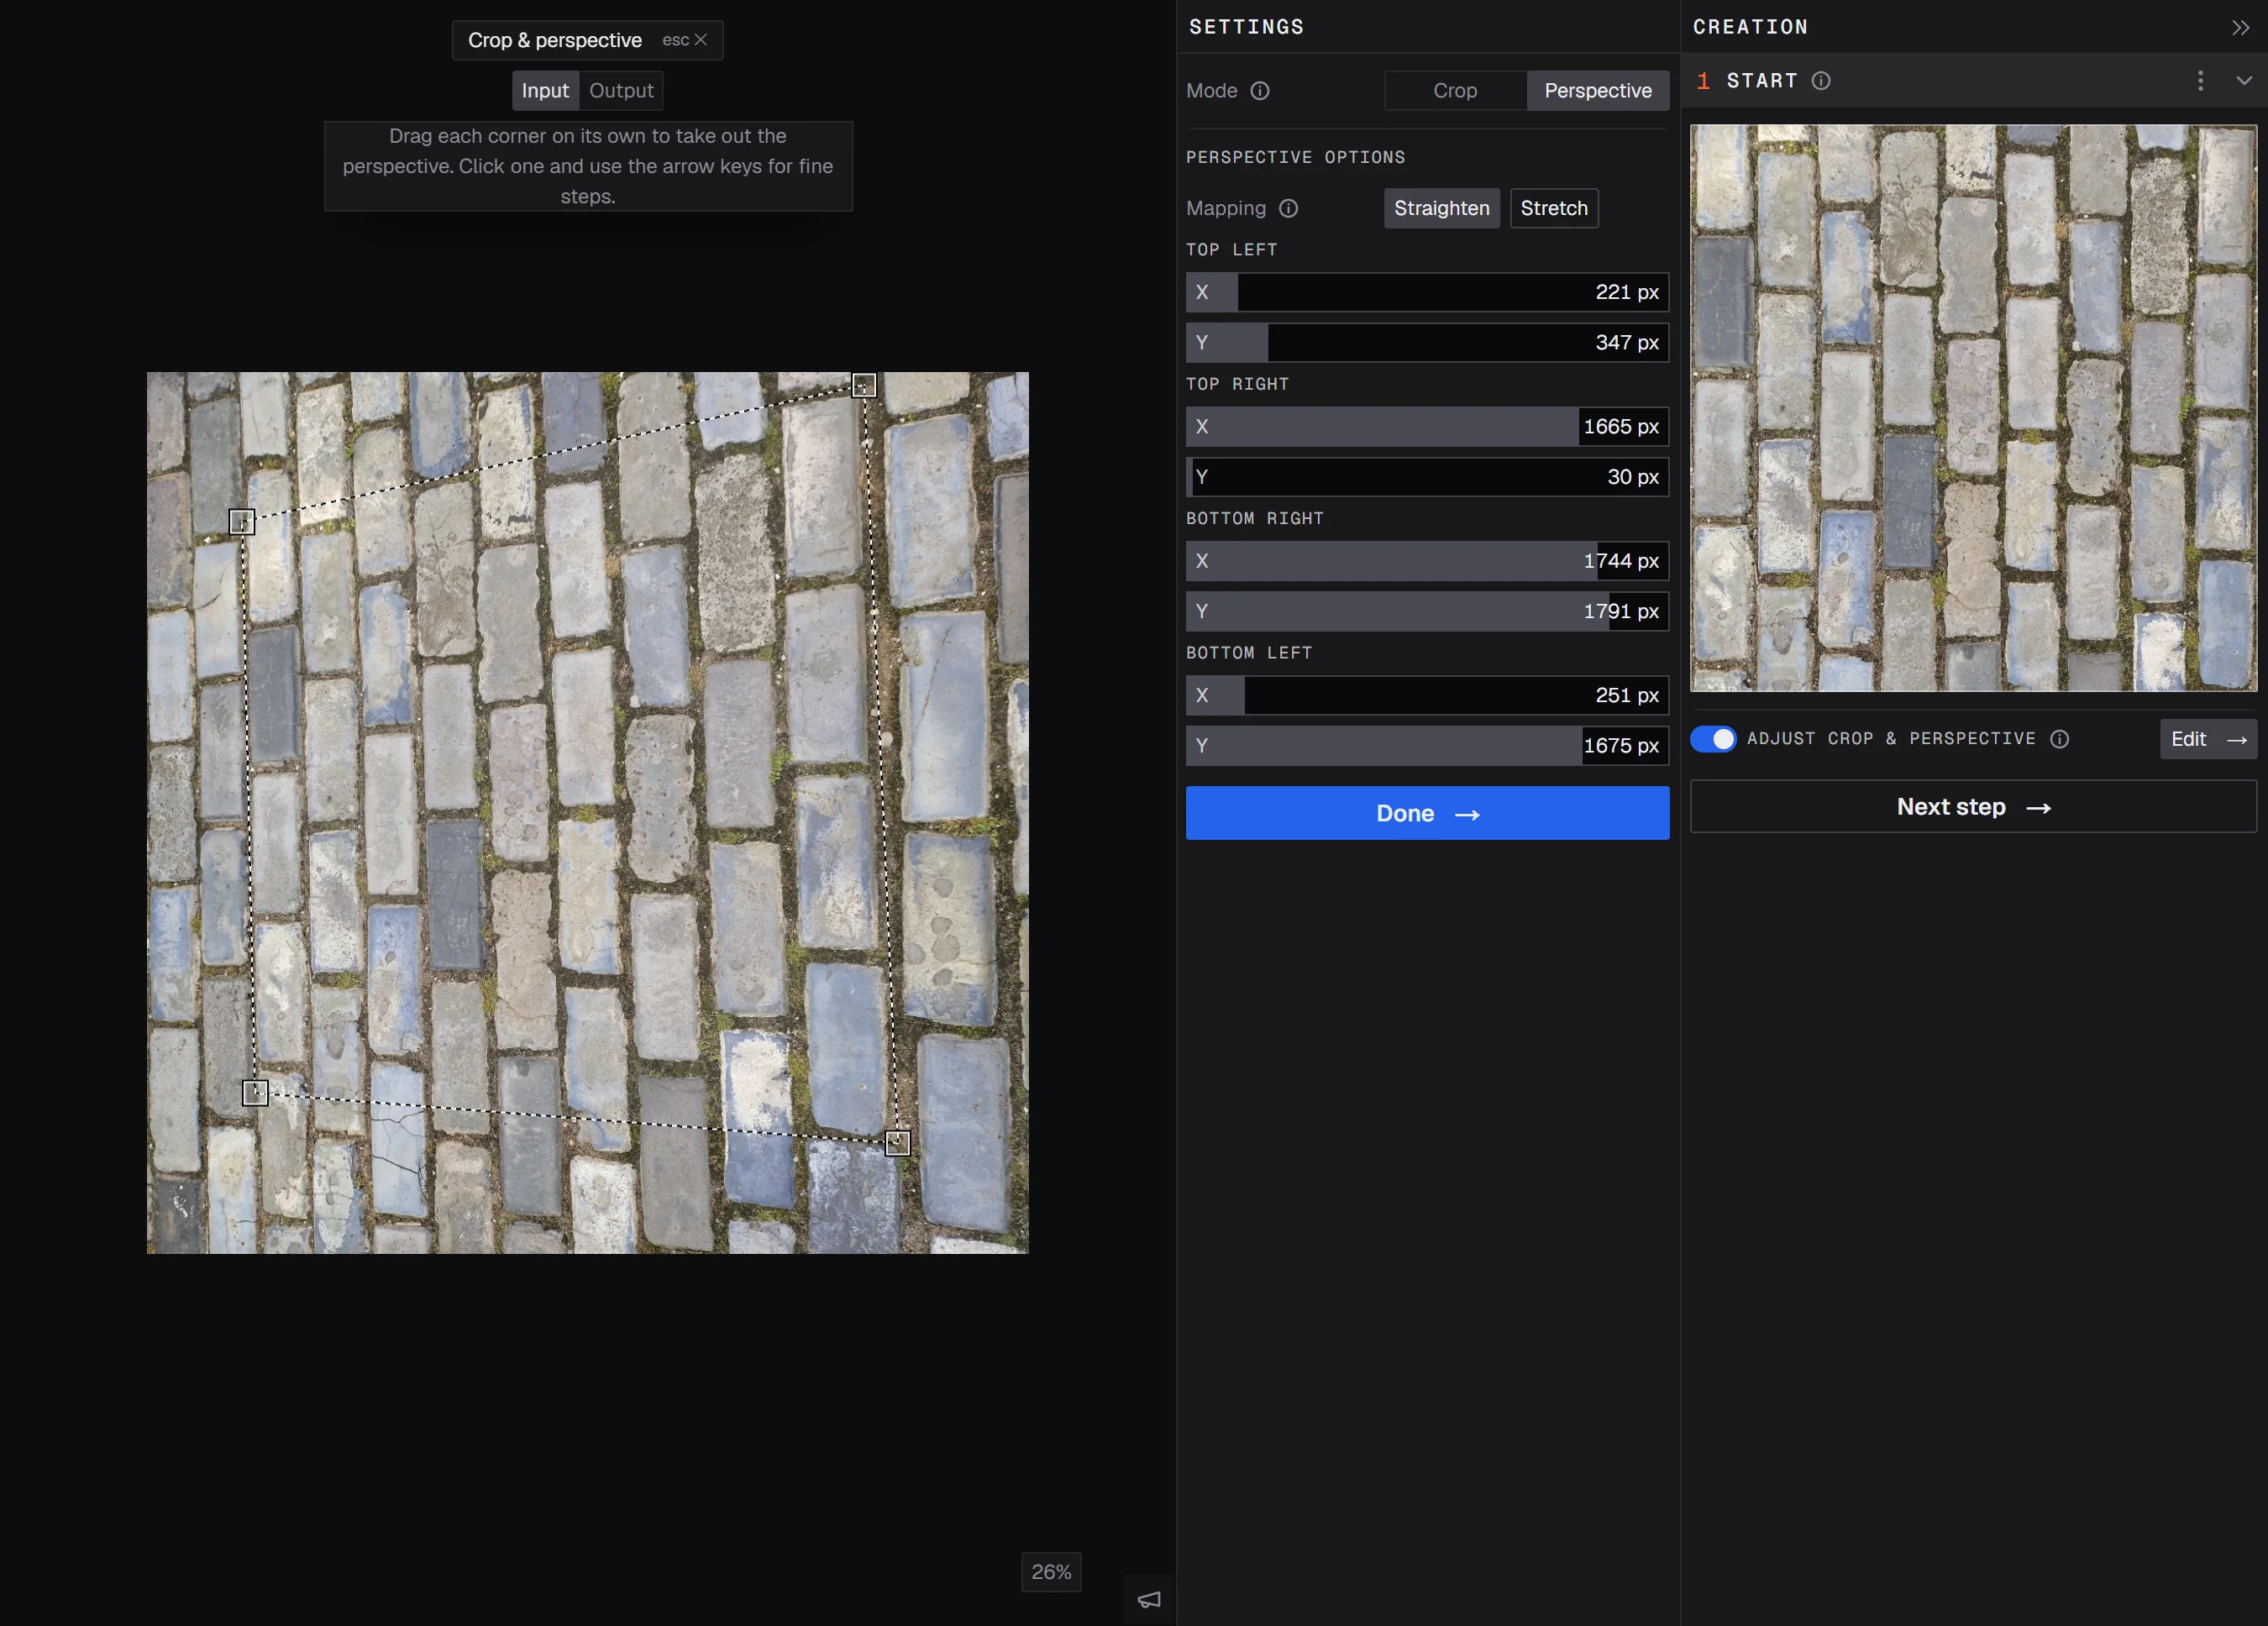
Mode
- Crop: a rectangle of any shape, like cropping in a photo editor. Hold Shift to keep it square. The result is always a square, as wide as the crop's longest side. Crop options sets each side by the pixel; Center centers the crop and Reset goes back to the largest centered square.
- Perspective: each corner moves on its own. Put the corners on the corners of the surface, for example the edges of a wall photographed from the side, and PBRgen straightens it into a flat square. Perspective options sets each corner by the pixel.
Mapping (Perspective only) decides how the four corners become the square. Straighten treats the area as a flat surface seen at an angle, which is right for a wall or floor shot from the side. Stretch spreads the image evenly between the corners, for an area that's only slightly skewed.
Moving the corners
- Drag a corner. A magnifier shows the exact spot while you drag.
- In Crop mode, drag the inside to move the whole crop.
- Click a corner and use the arrow keys for fine steps.
Input and Output
The switch at the top of the view shows either side:
- Input: your original image with the corners on it, where you adjust them.
- Output: the result. Drag to look around, scroll to zoom, and press T to see it tiled, which is the quickest way to judge whether it will repeat well.
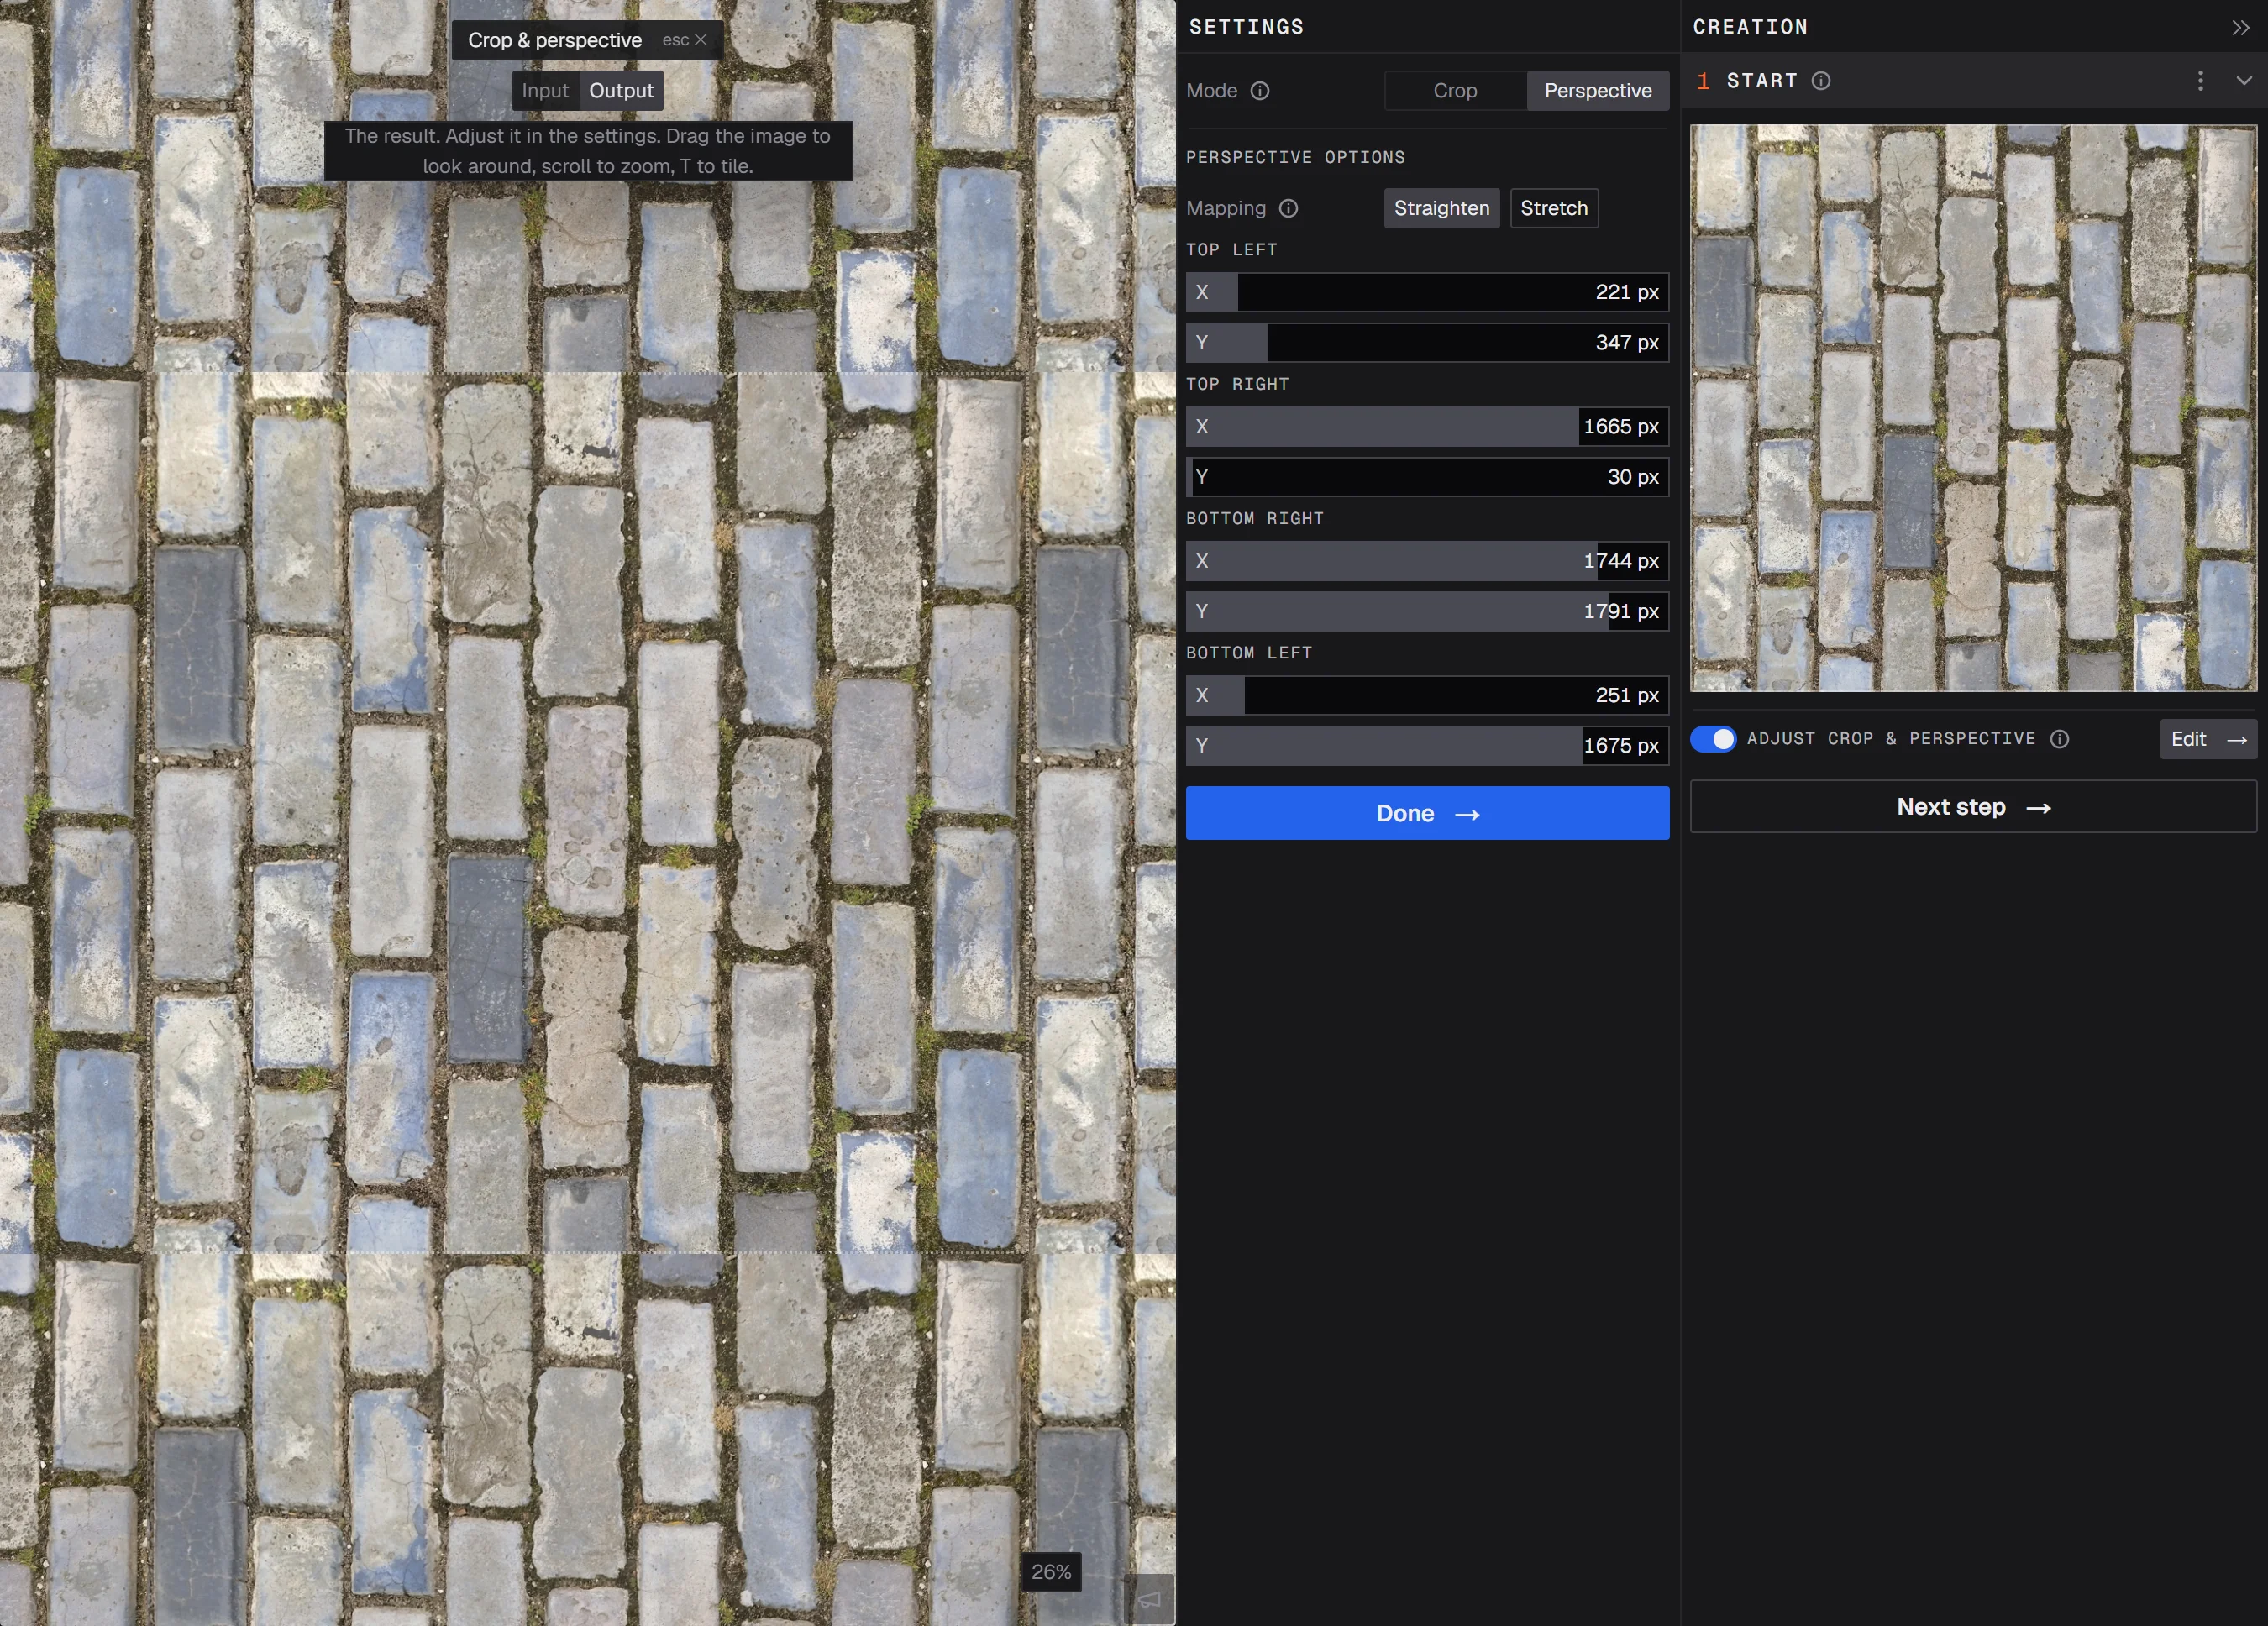
Click Done to close the editor; your crop stays on. The Edit button next to Adjust crop & perspective opens it again. Switch Adjust crop & perspective off to go back to the centered square. Your adjustments are kept, so switching it on again brings them back.
Tip: straightening a photo makes it nearly tileable before the material is made, so step 3 has less to repair and the result is better.
Prefer video? Our tutorials are on YouTube.