
Material from a photo
Turn a photo of a real surface into a tileable PBR material: taking the photo, cropping and straightening it, and taking the light out.
PBRgen can turn a photo of a real surface into a full, tileable PBR material: a wall you walked past, a floor, a piece of bark. This page takes you from the photo to the finished material. Uploading your own image needs a paid plan.
1. Take a photo
Any decent photo of a surface works: PBRgen straightens a photo taken at an angle, repairs the seams, and can take light and shadow out. You don't need a perfect shot. If you can, these help a little extra:
- Shoot straight on, with the camera parallel to the surface. A photo at an angle is fine too: you straighten it in step 3 below, but straight on keeps a bit more detail.
- Even light. An overcast day or open shade is ideal. Hard sunlight and strong shadows are harder to take out completely.
- No flash and no strong reflections. Bright spots can repeat across the tiled material.
- Fill the frame with the surface. Something that doesn't belong, like a pipe on a wall or a leaf on the ground, you can crop out or remove later in Edit.
2. Upload it
Click New material at the top of your library, then Start from an image. Click the empty box to choose your photo, drag it onto the box, or paste it with Ctrl+V.
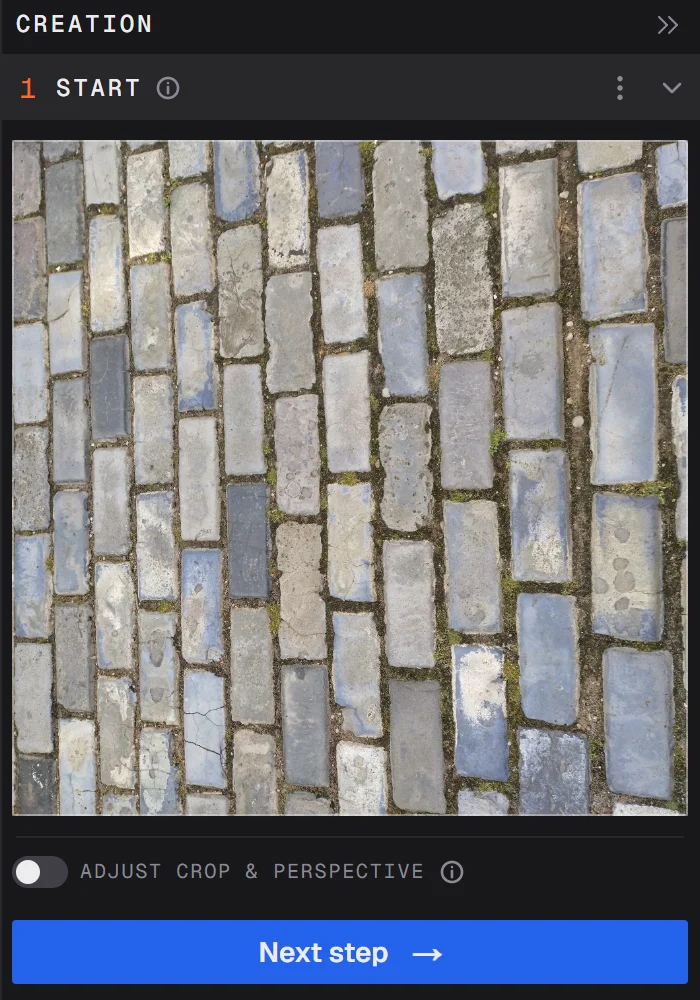
The box shows the part PBRgen will use. By default that's the largest square from the middle of the photo.
3. Crop and straighten
Switch on Adjust crop & perspective. The editor opens in the 3D view.
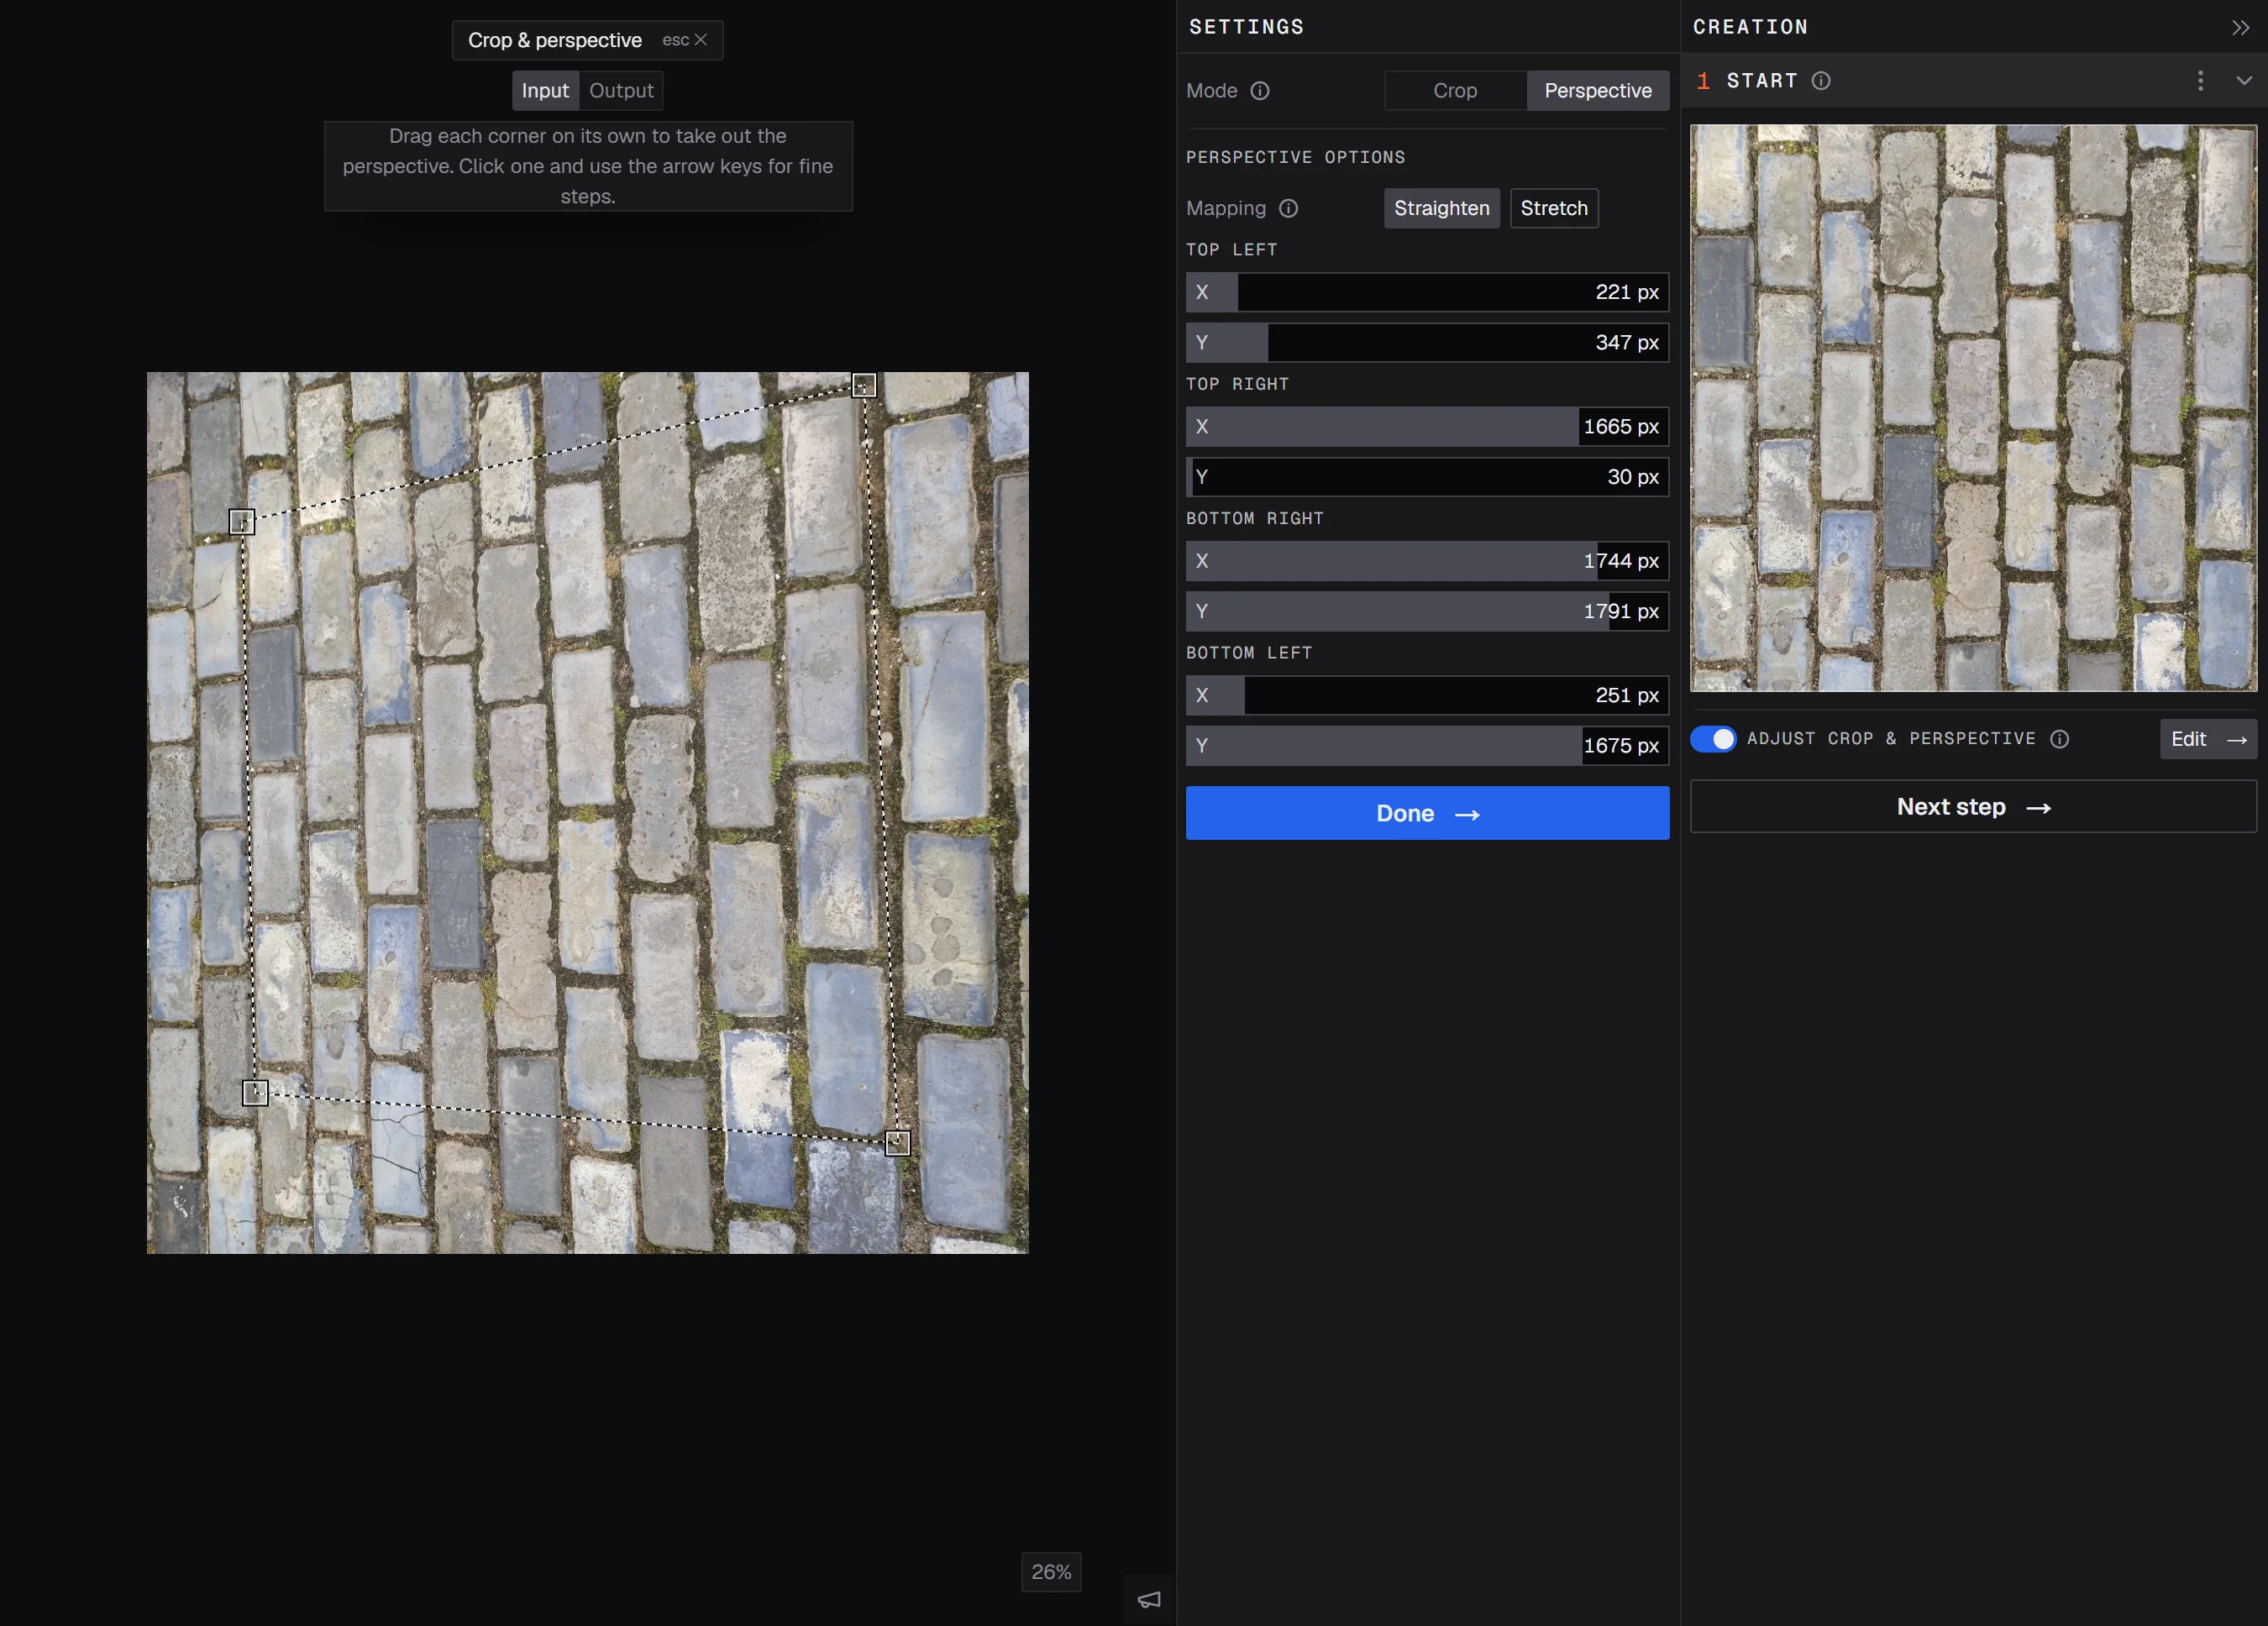
- Photo taken straight on? Keep Crop and drag the corners around the part you want. Hold Shift to keep it square.
- Photo taken at an angle? Choose Perspective and drag each corner onto a corner of the surface, for example where a wall's tiles or bricks form a rectangle. PBRgen straightens it into a flat square.
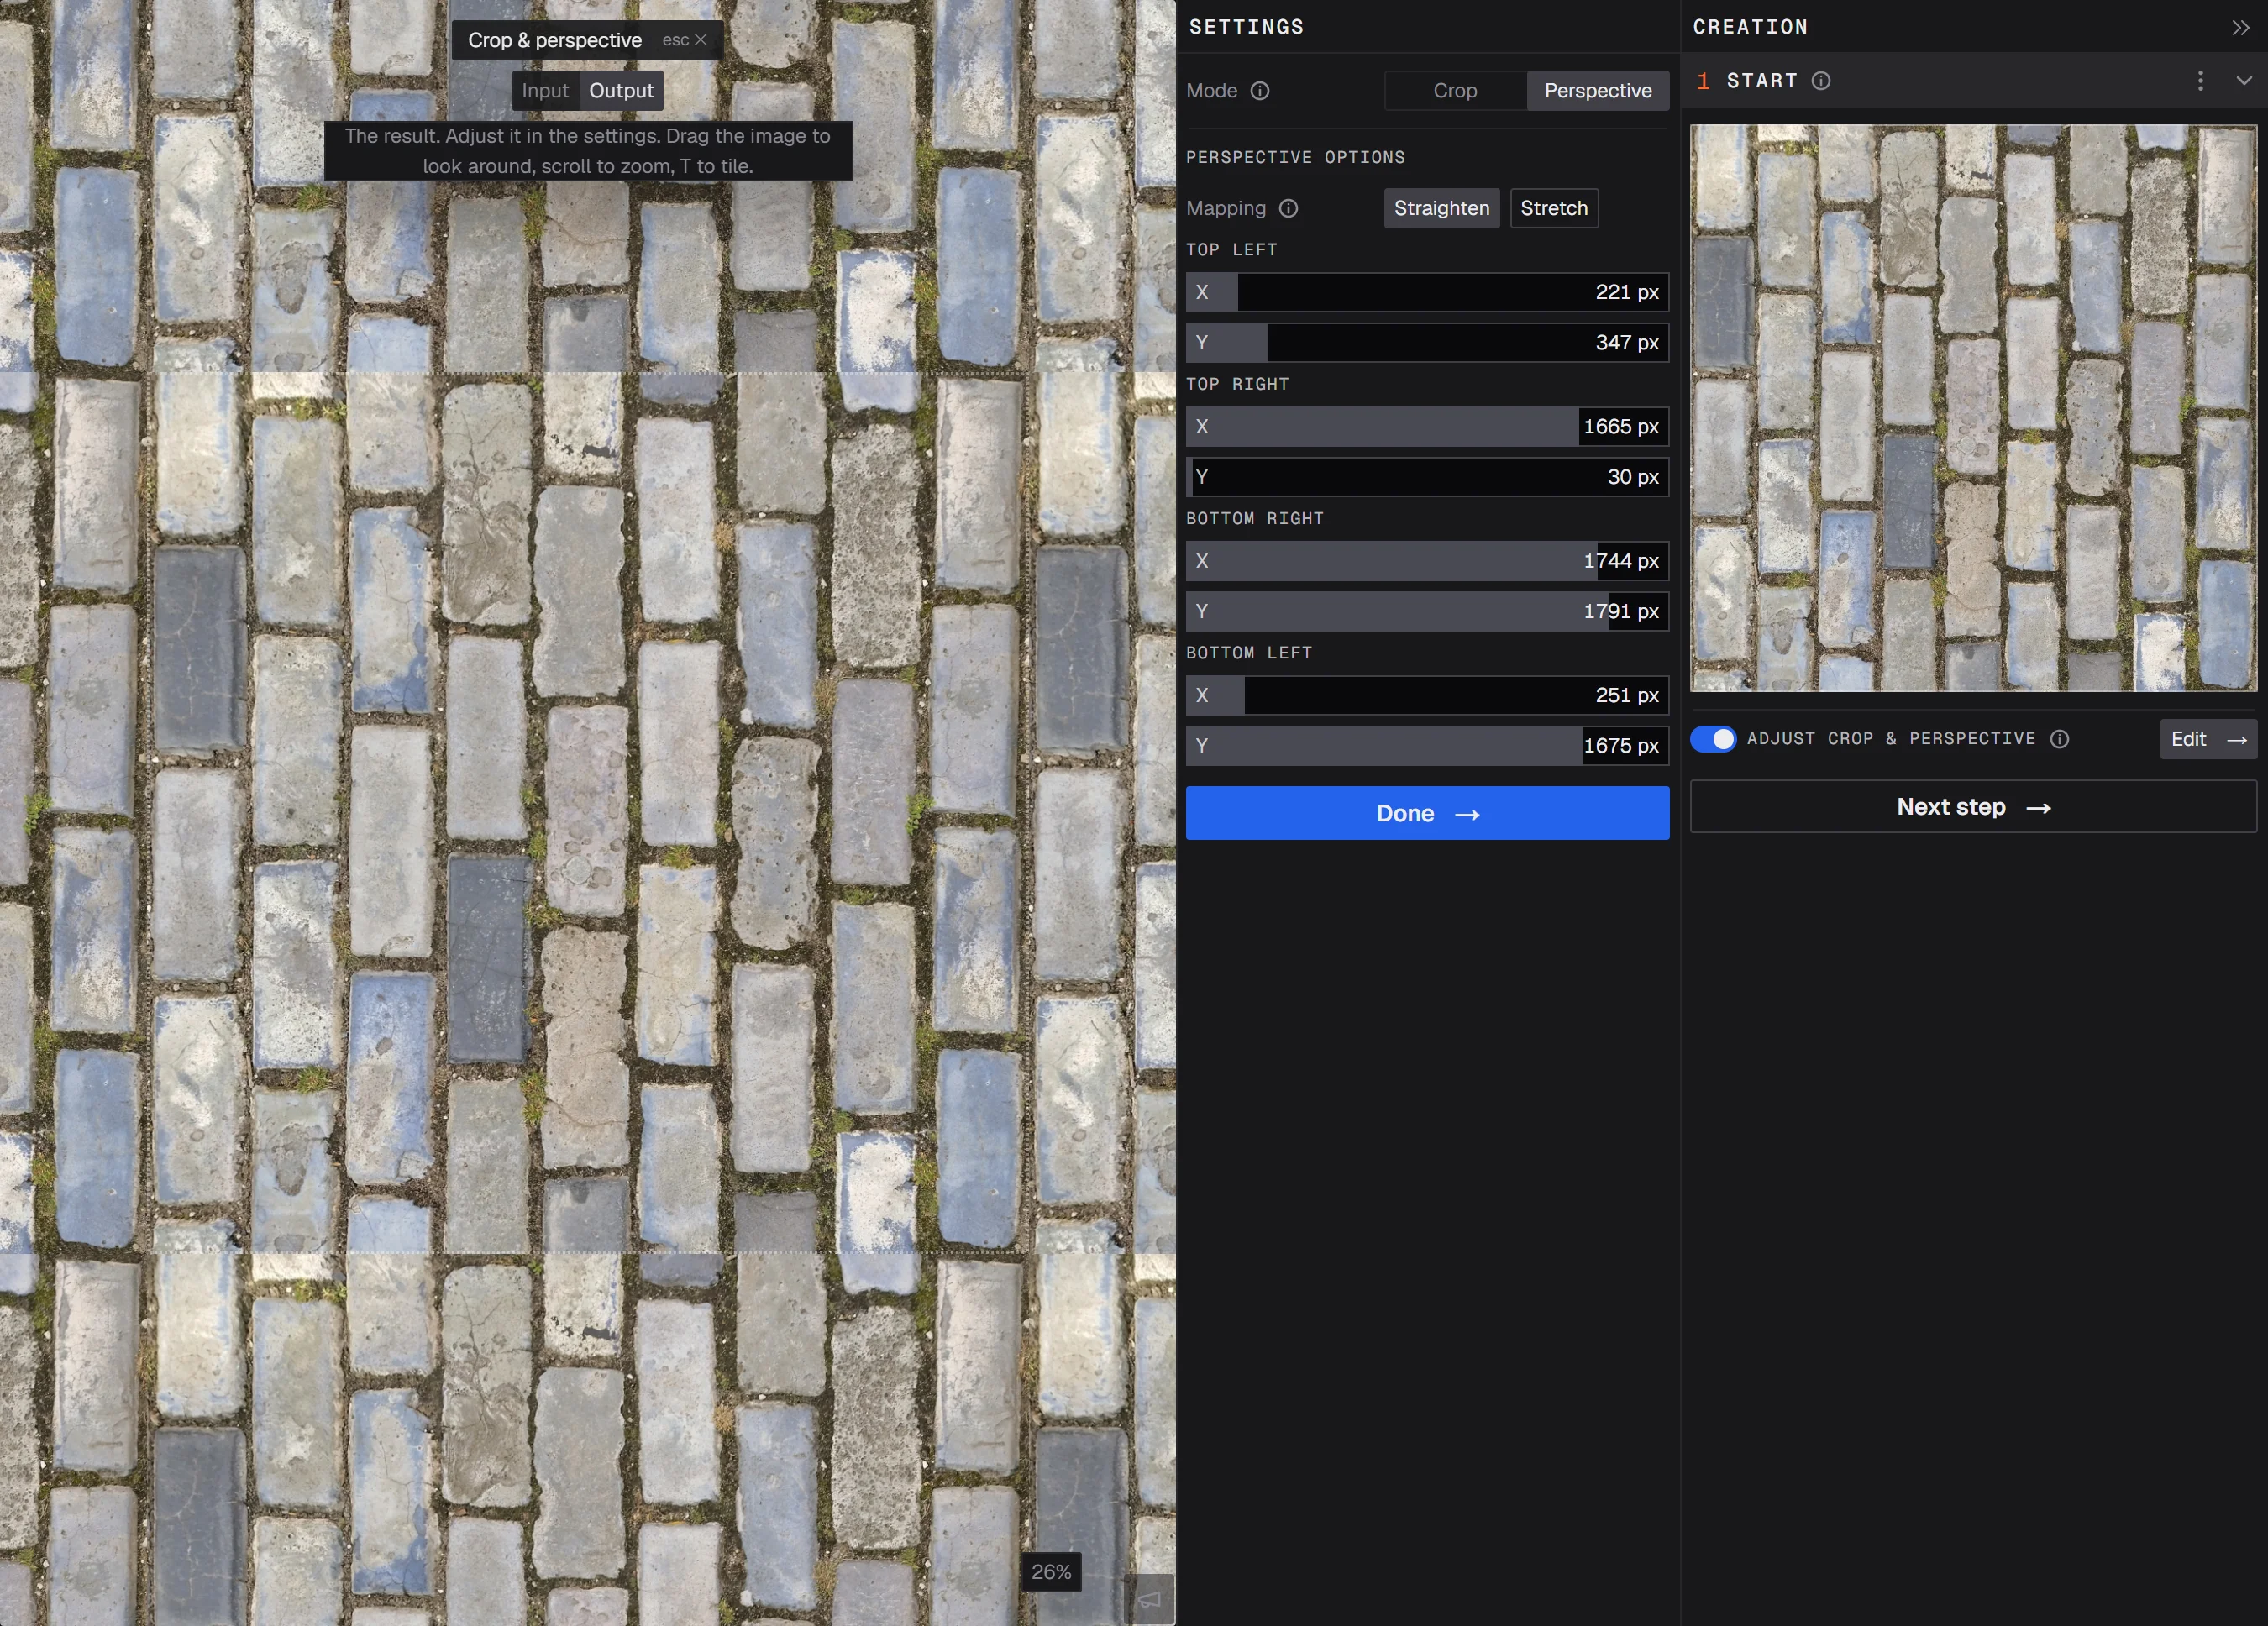
Switch to Output at the top of the view and press T to see the result tiled. Big differences in brightness from one side to the other, or a shape that's cut off at an edge, will show as a visible repeat. Adjust the corners until the tiles flow into each other as well as they can. Then click Done.
The Crop & perspective section on the Start page explains every setting in the editor.
4. Create the material
Click Next step and choose Create material. In step 3, leave Inpaint seams on: it repaints a strip along the edges so the material tiles without visible seams. Pick a resolution and click Create material from texture.
Want to change something in the photo first, like removing a crack or a stain? Choose Edit texture instead of Create material, and describe the change in step 2.
5. Take out the light
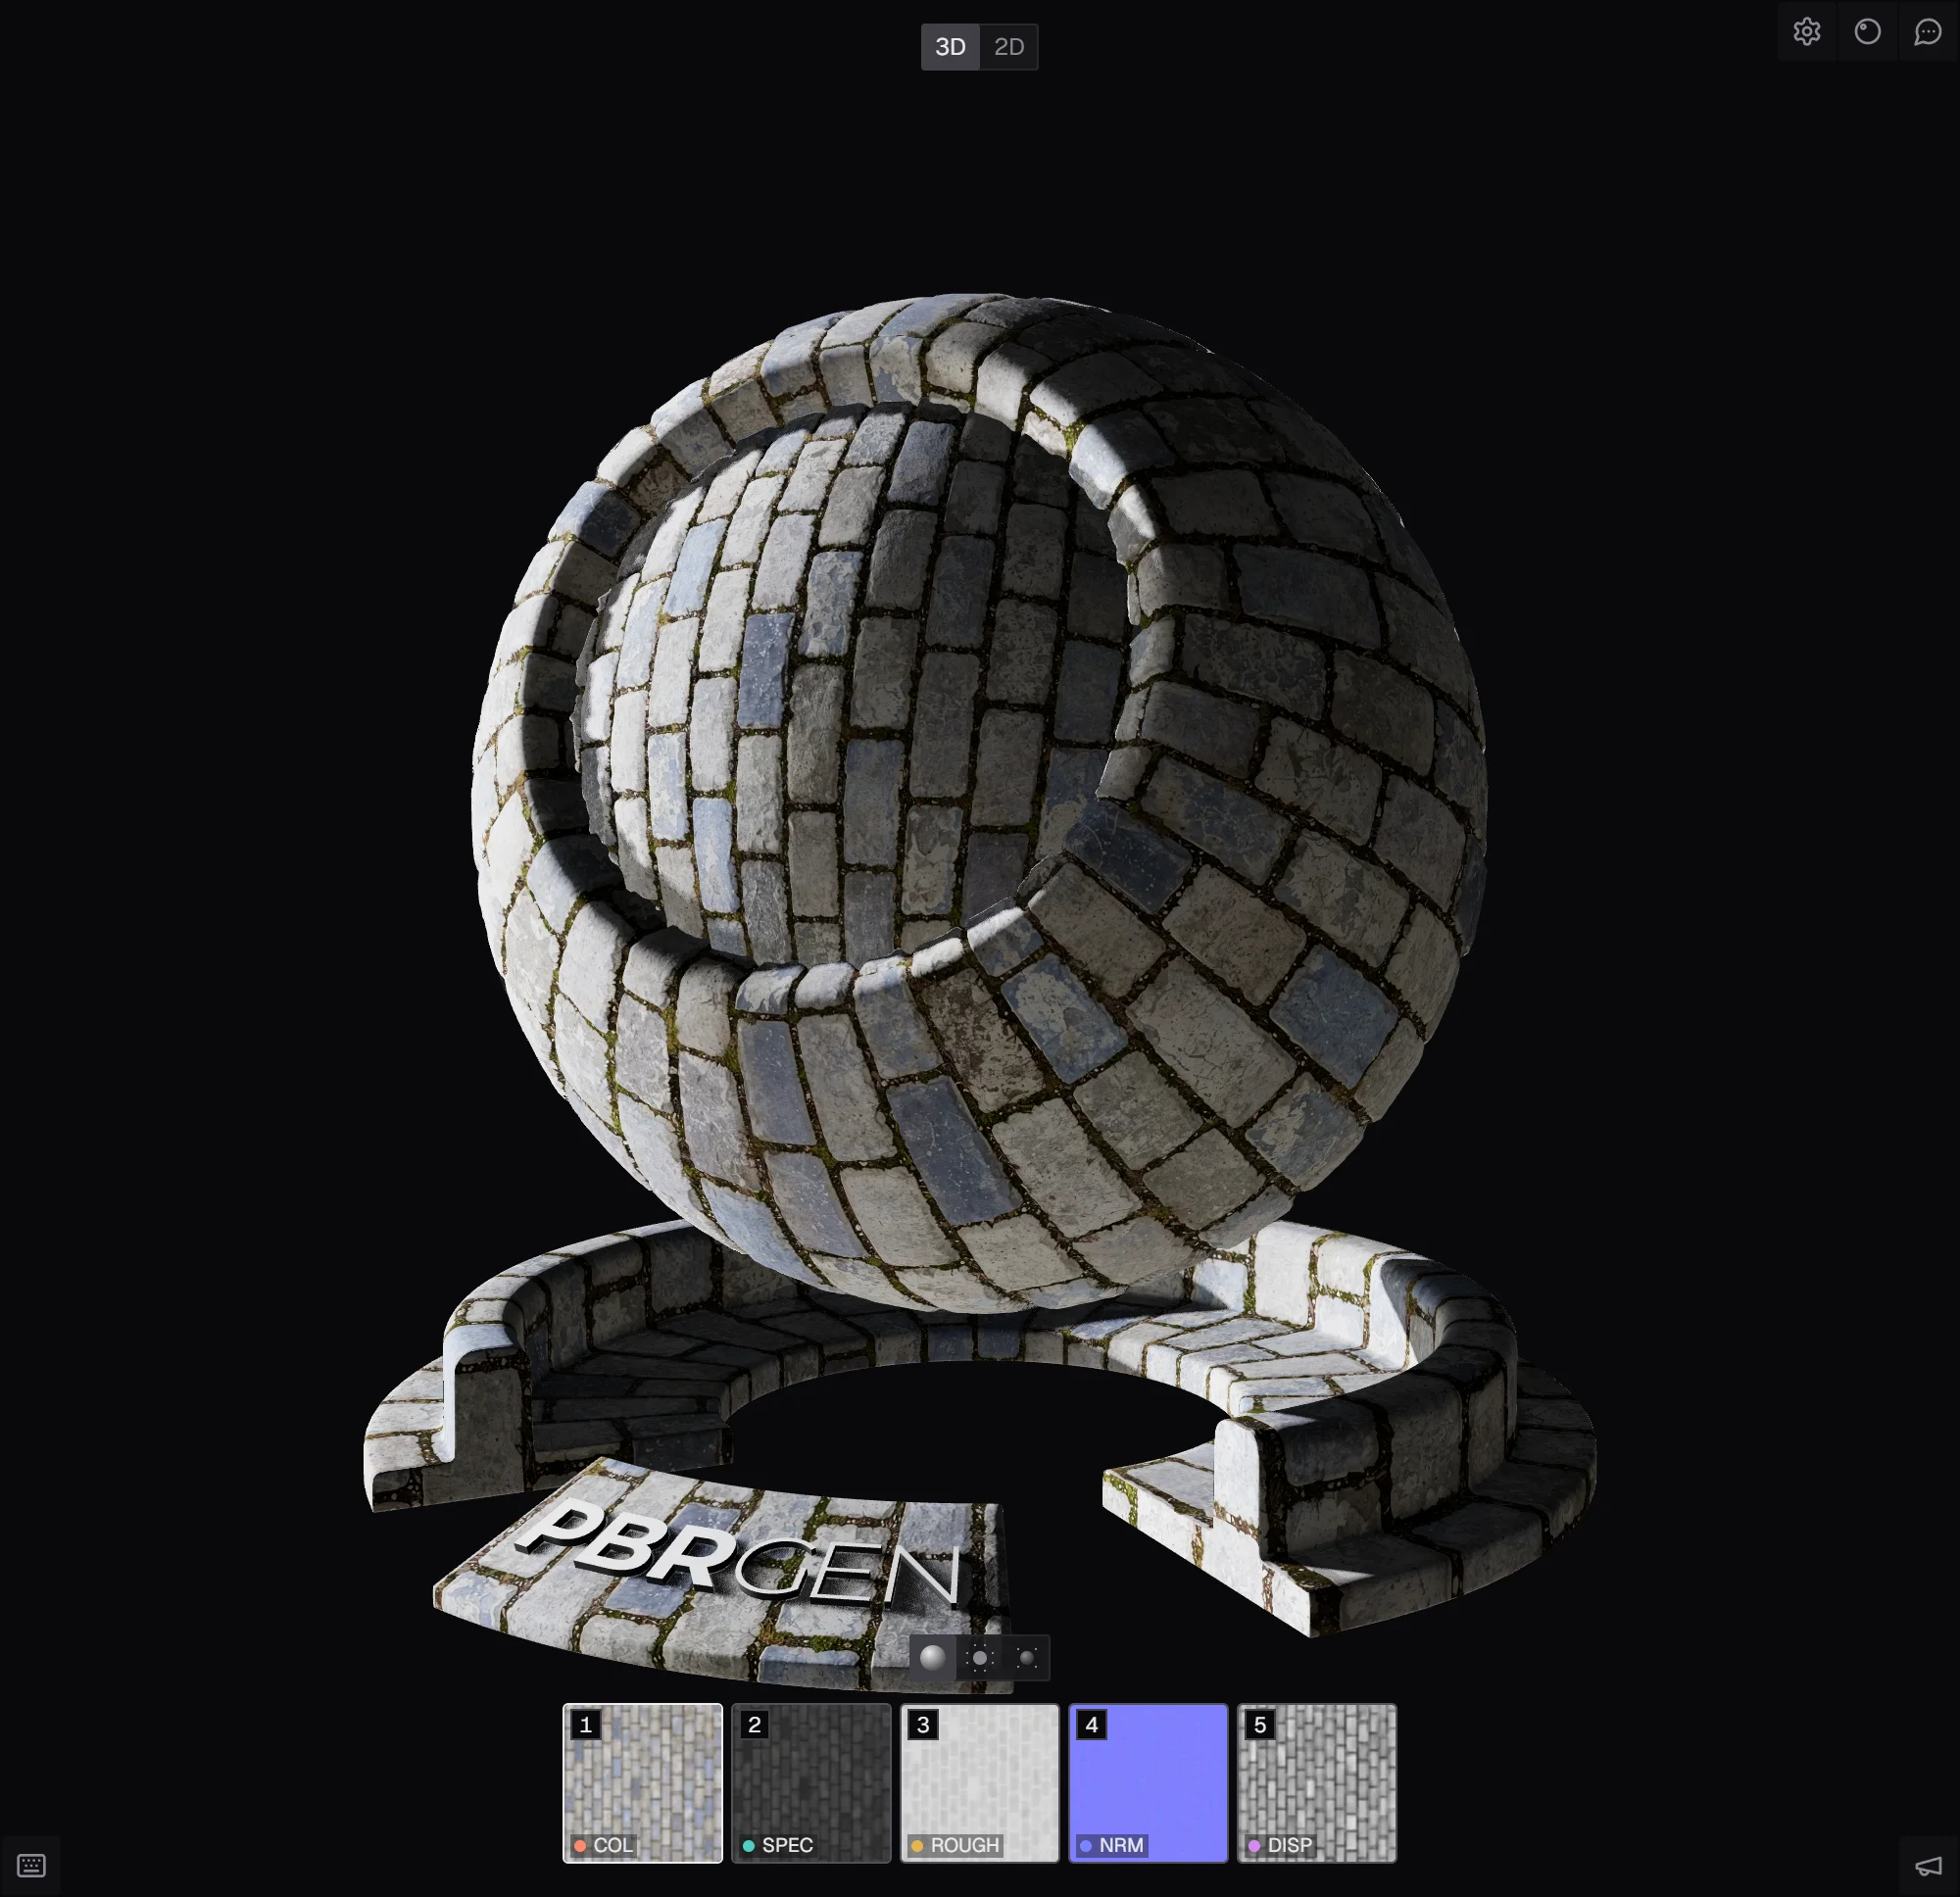
A photo always has some light and shadow in it, but the color map of a material should hold only the surface's own color: the light comes from your 3D scene. In step 4, Tweak, open the COL tab. Its COL default layer has a Delight slider that blends from the original photo (0) to the color with the lighting taken out (1). Check the shader ball under different lighting while you set it: the 3D view options, the gear at the top right of the 3D view, let you change it.
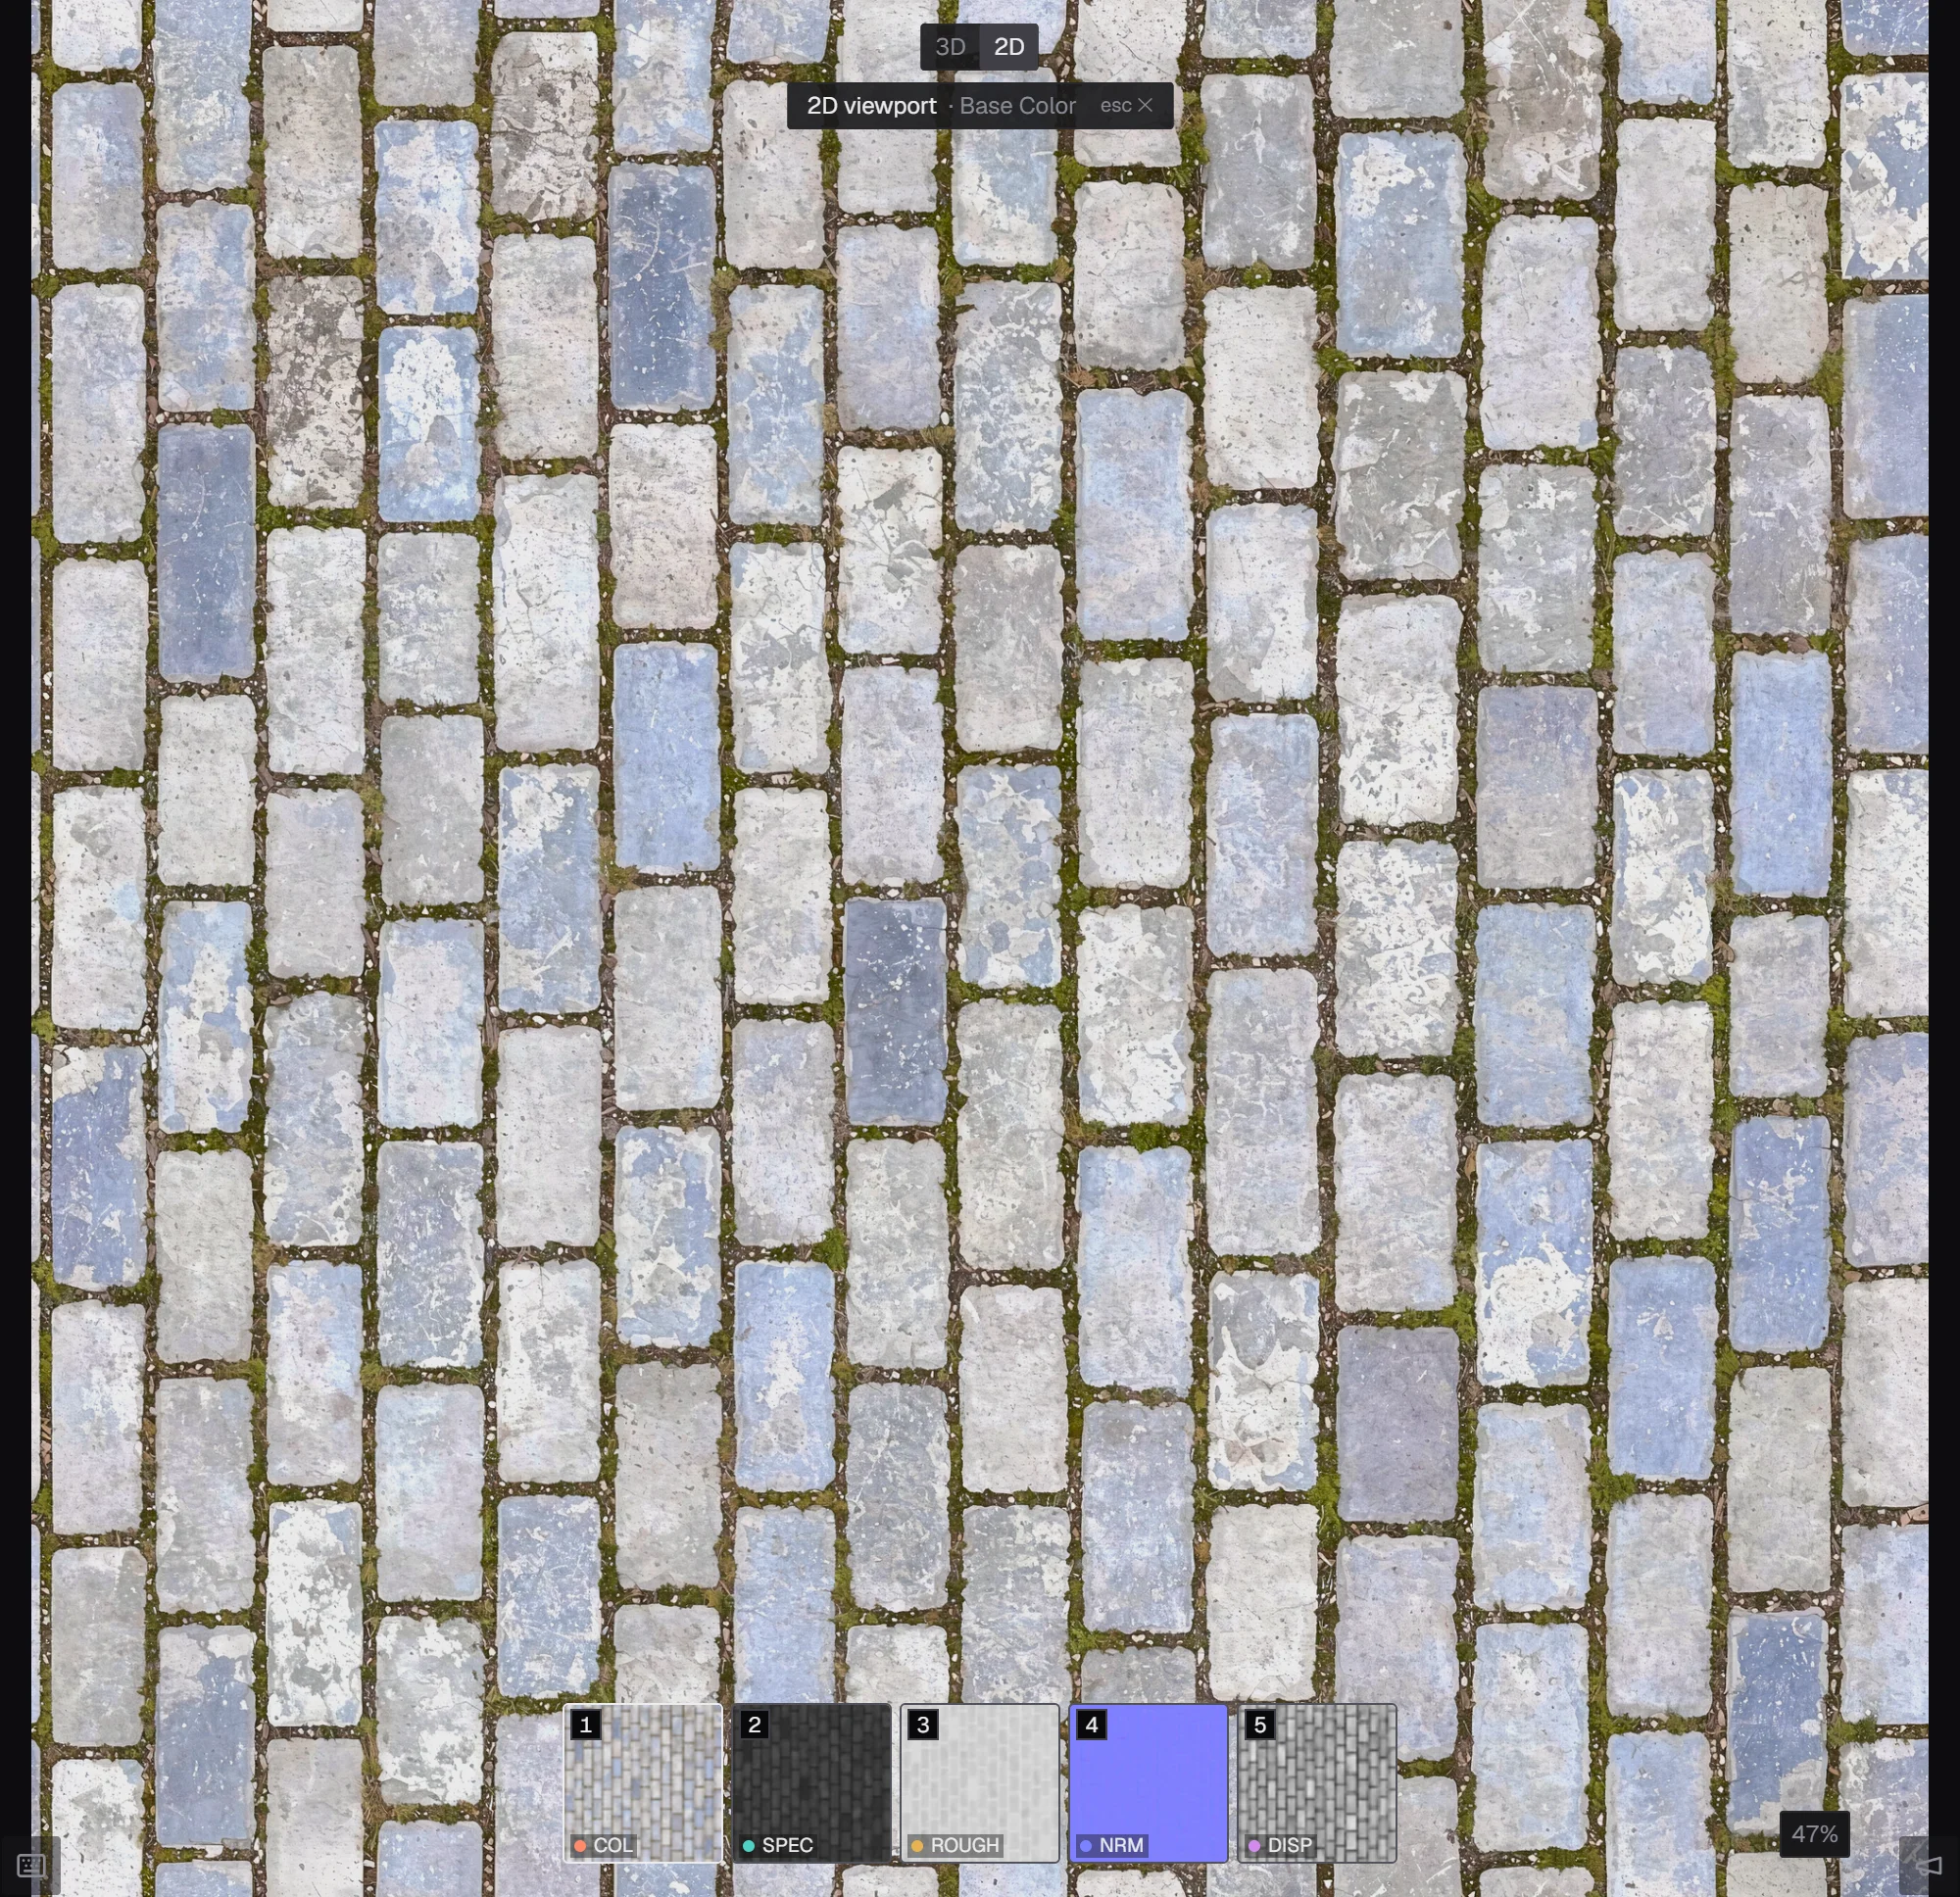
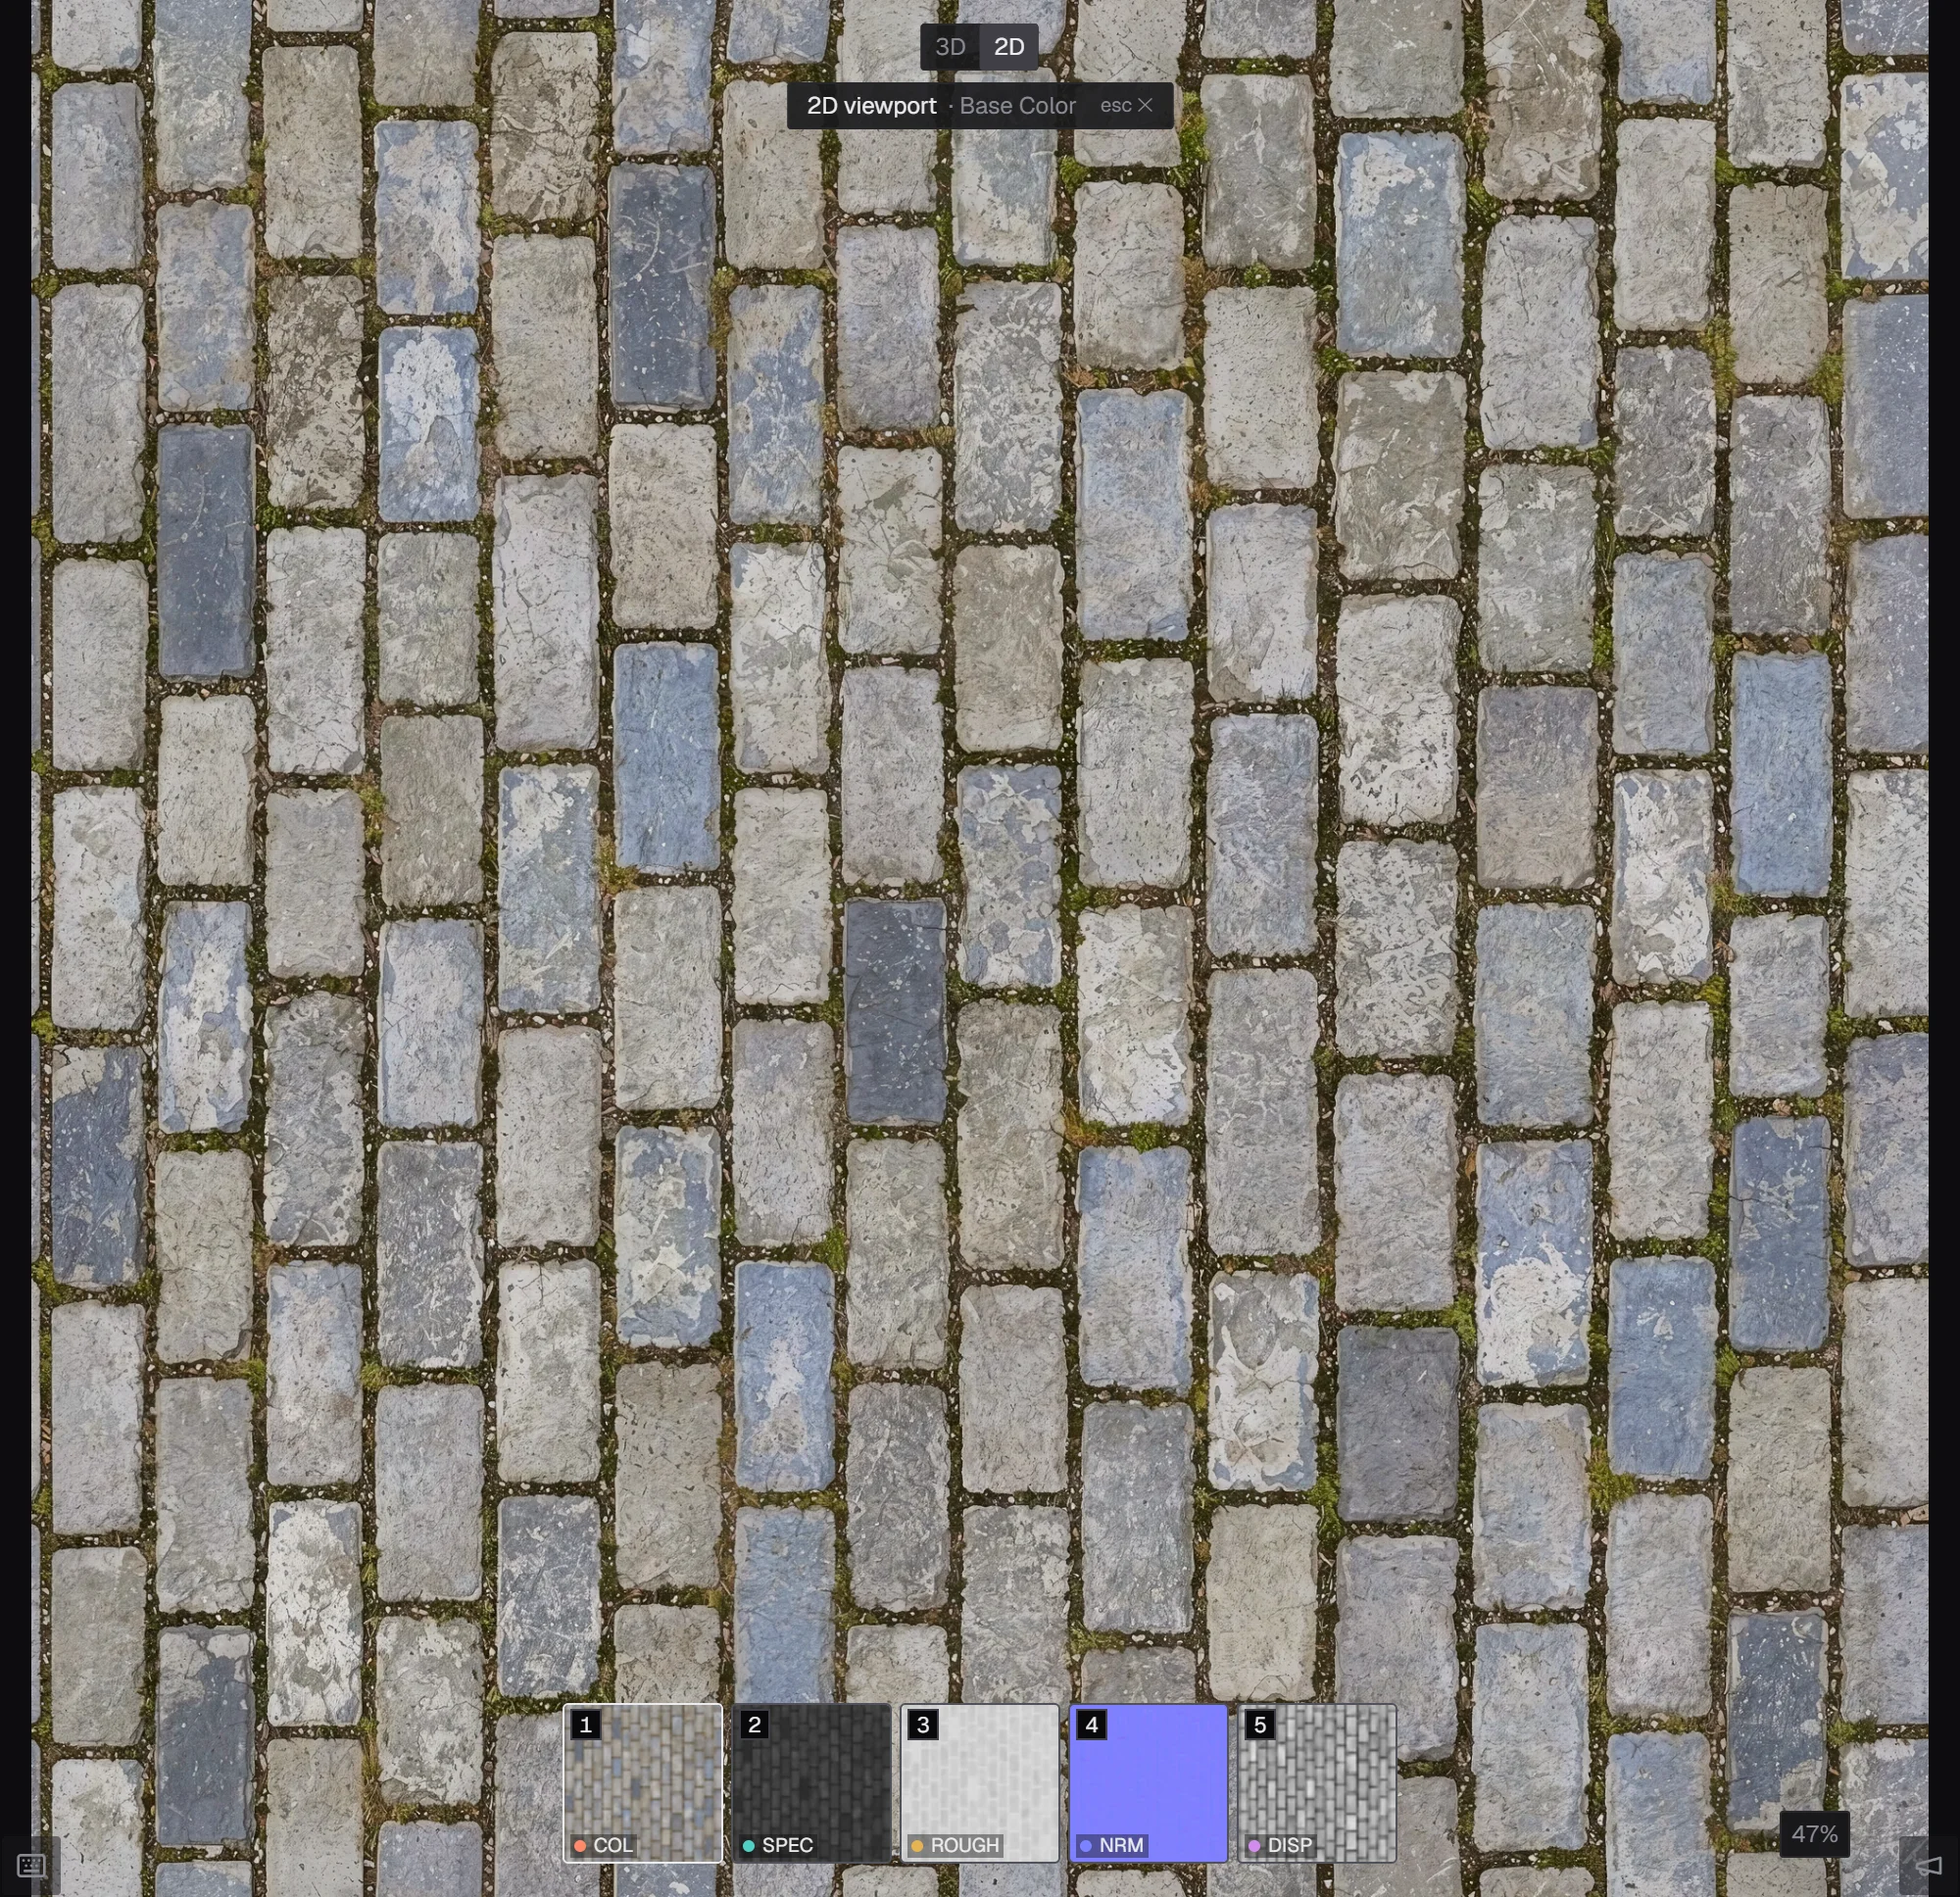 Delight 0Delight 1
Press V to see the color map flat in the 2D view while you drag the slider, as in this picture.
Then download the material in step 5, Export, as in Your first material.
Prefer video? Our tutorials are on YouTube.