
What is PBRgen?
PBRgen makes PBR materials from a few words or a photo. What you get, how it works, and how this guide is organized.
What you get
A PBR material is a set of images, called maps, that together tell your 3D software what a surface is made of. One map holds the color, another how rough or shiny each spot is, another the small bumps and dents, and so on. Your renderer combines them, so the surface reacts to light the way the real thing would, from every angle and under any lighting. PBR stands for physically based rendering.
PBRgen makes all of those maps for you, from a short description or a photo. Every material tiles: you can repeat it side by side across a floor or a wall without visible seams.
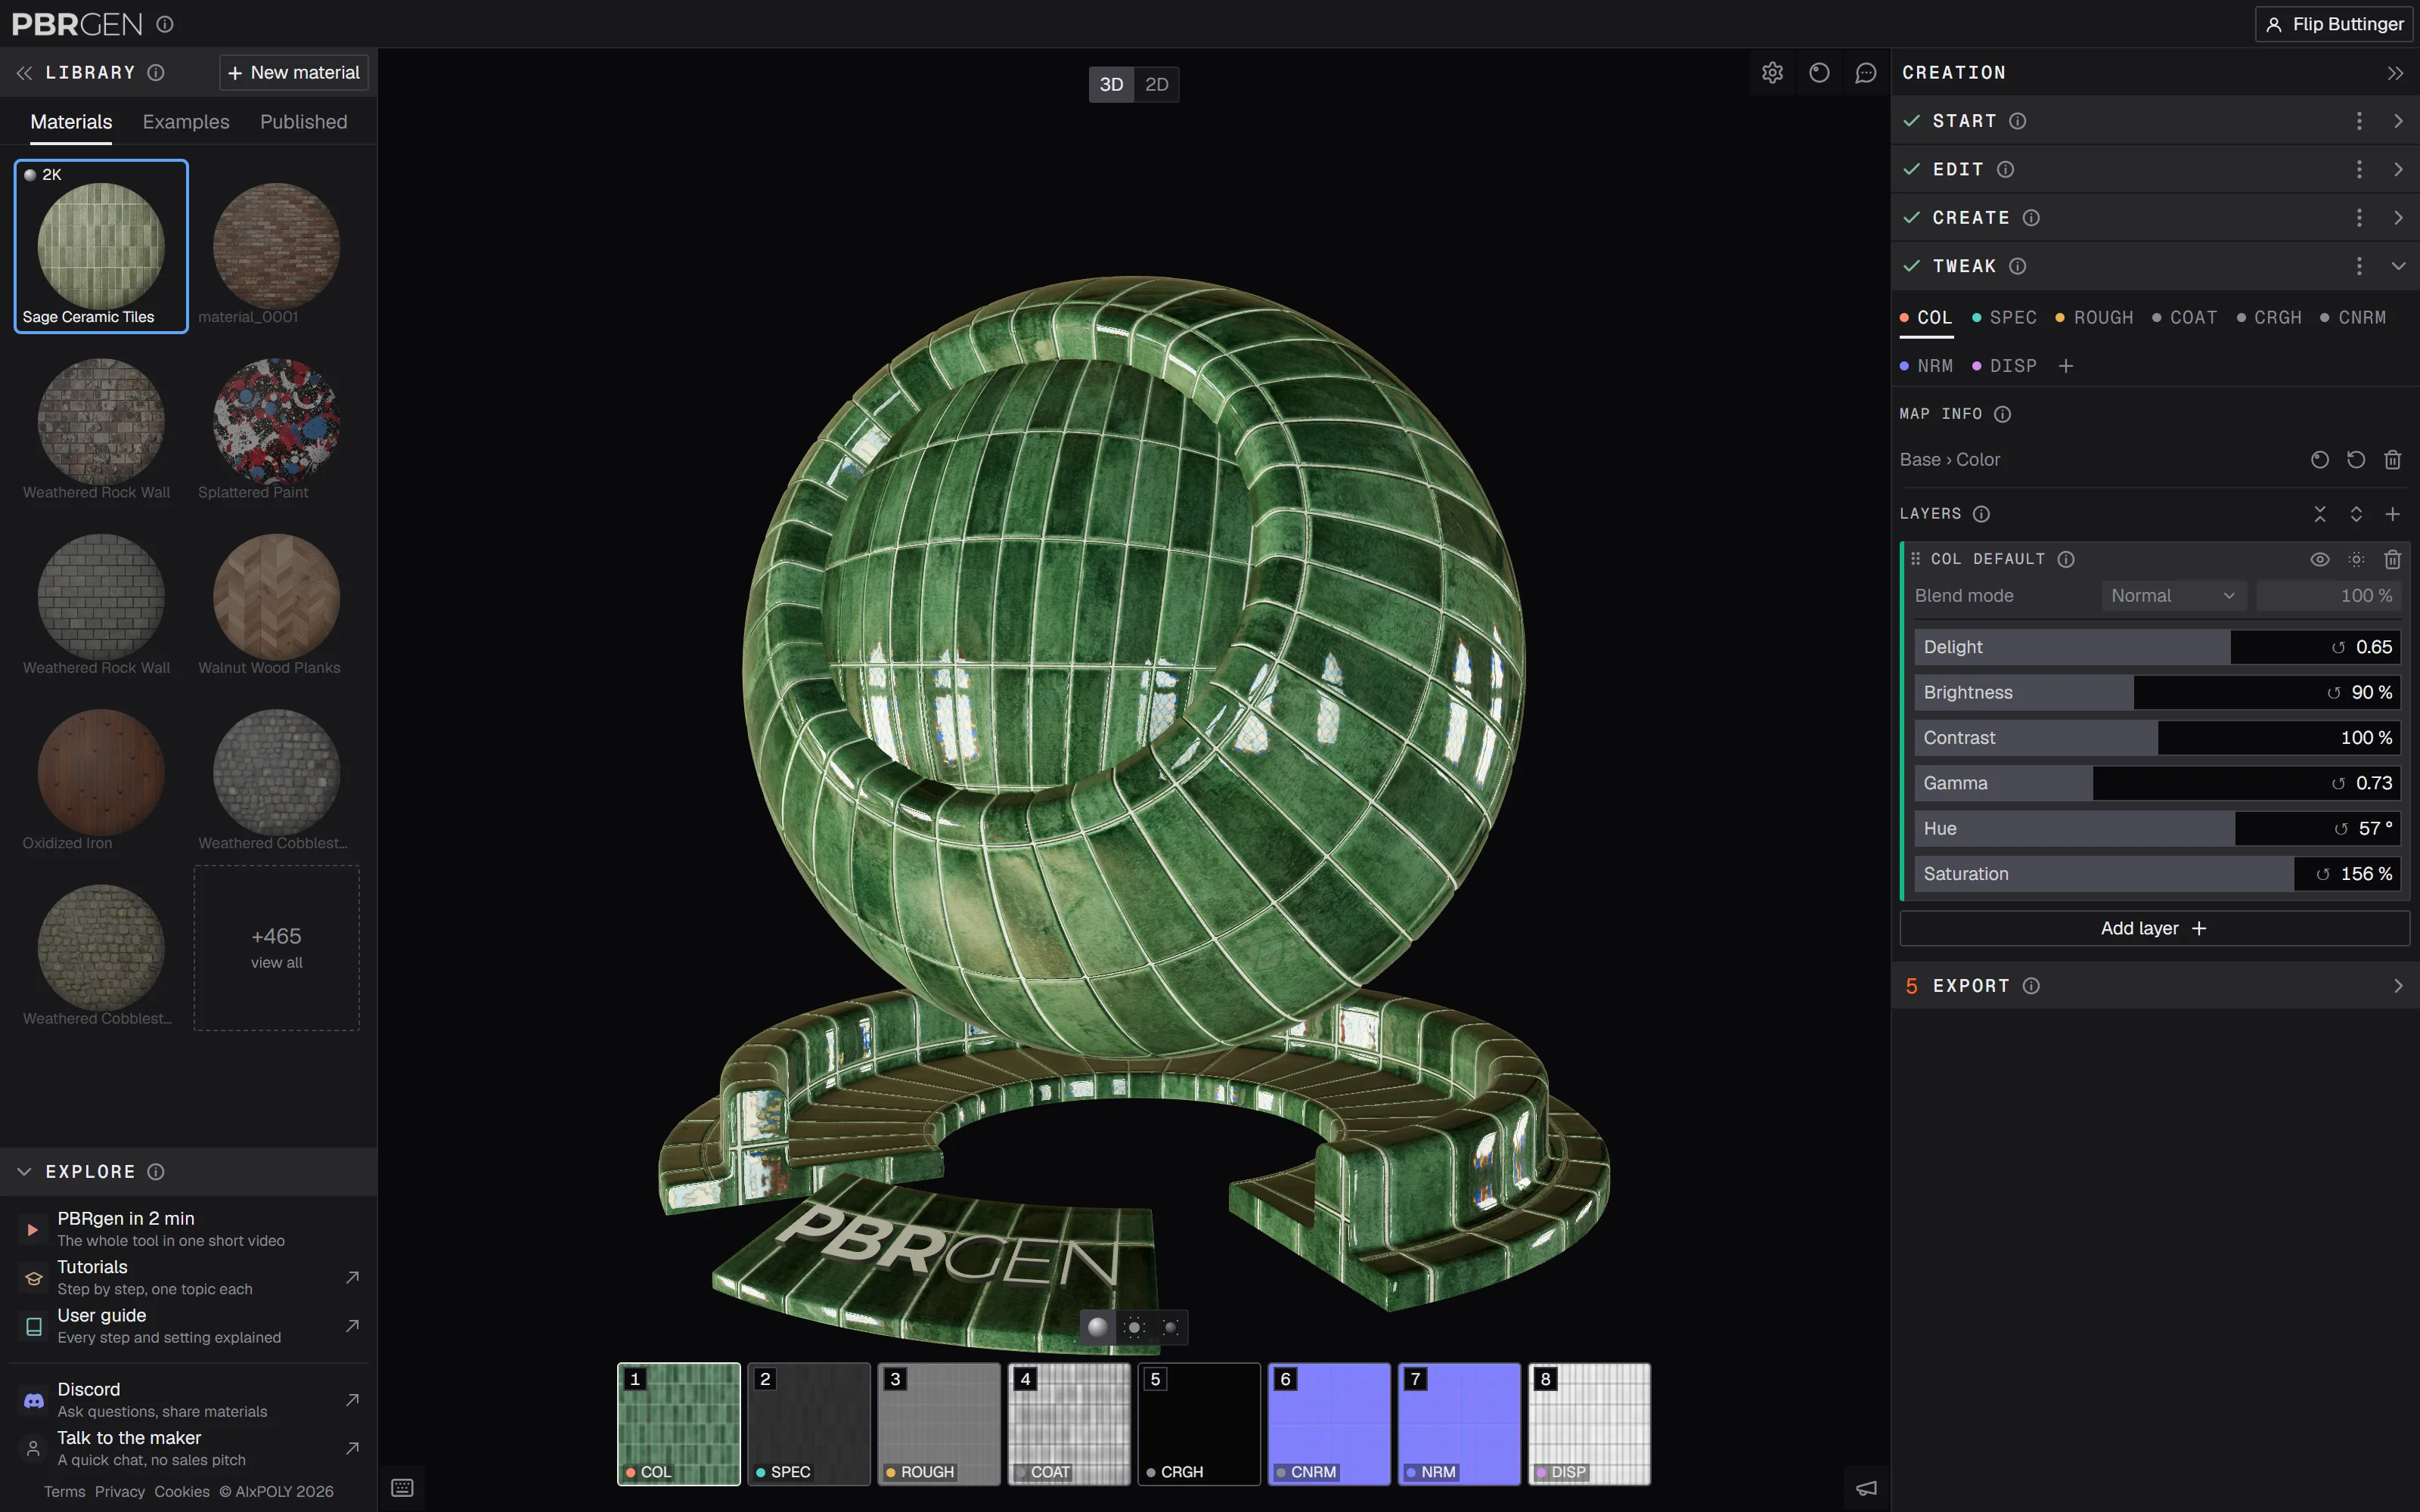
Create gives every material the maps below, in the order the shader uses them. In Tweak you can take any of them out, or add others, such as a clear coat or a glow. The codes in brackets are how the tool and your downloaded files name them.
| Map | What it does |
|---|---|
| Base Color (COL) | The surface's own color, without light or shadow in it. |
| Base Metalness (MTL) | Which parts are bare metal. Only metal materials get this one. |
| Specular Color (SPEC) | How strongly each spot reflects light, and in what color. Usually a gray: lighter reflects more. |
| Specular Roughness (ROUGH) | How rough each spot is: dark is smooth and shiny, light is rough and matte. |
| Geometry Normal (NRM) | Small bumps and dents that catch the light, without changing the shape of the model. |
| Displacement (DISP) | Height: light is high, dark is low. It can move the actual surface. |
How it works
You make a material in five steps, top to bottom in the column on the right:
- Start: generate a texture from a few words, or upload your own photo.
- Edit: change that texture with a prompt, for example to remove something. You can skip this step.
- Create: turn the texture into a full material. PBRgen enhances its quality, makes every map from it and repairs the seams so it tiles.
- Tweak: fine-tune each map by hand with layers, the way you would in an image editor.
- Export: download the maps for your 3D software, or publish the material and share a link.
The 3D view in the middle shows your work the whole time, on a shader ball you can turn and relight. Everything you make is saved in your library on the left, automatically.
Credits and accounts
You can try PBRgen as a guest, without signing up. When you make an account you get 100 free credits. Generating, editing and creating cost credits; the price is on each button before you click it. Tweaking and exporting are free.
Using this guide
- New to PBRgen? Start with Your first material. It takes you through all five steps once, in about five minutes.
- Looking for one setting? Every step has its own page, with every option explained.
- In the tool itself, the ⓘ next to a setting tells you what it does in a sentence or two.
Prefer video? Our tutorials are on YouTube.