
3D view
Moving around, the 3D view options, map tiles, view modes and the 2D view.
The 3D view in the middle shows your material on a shader ball, lit by a real-world environment. It shows what you're working on at every step.
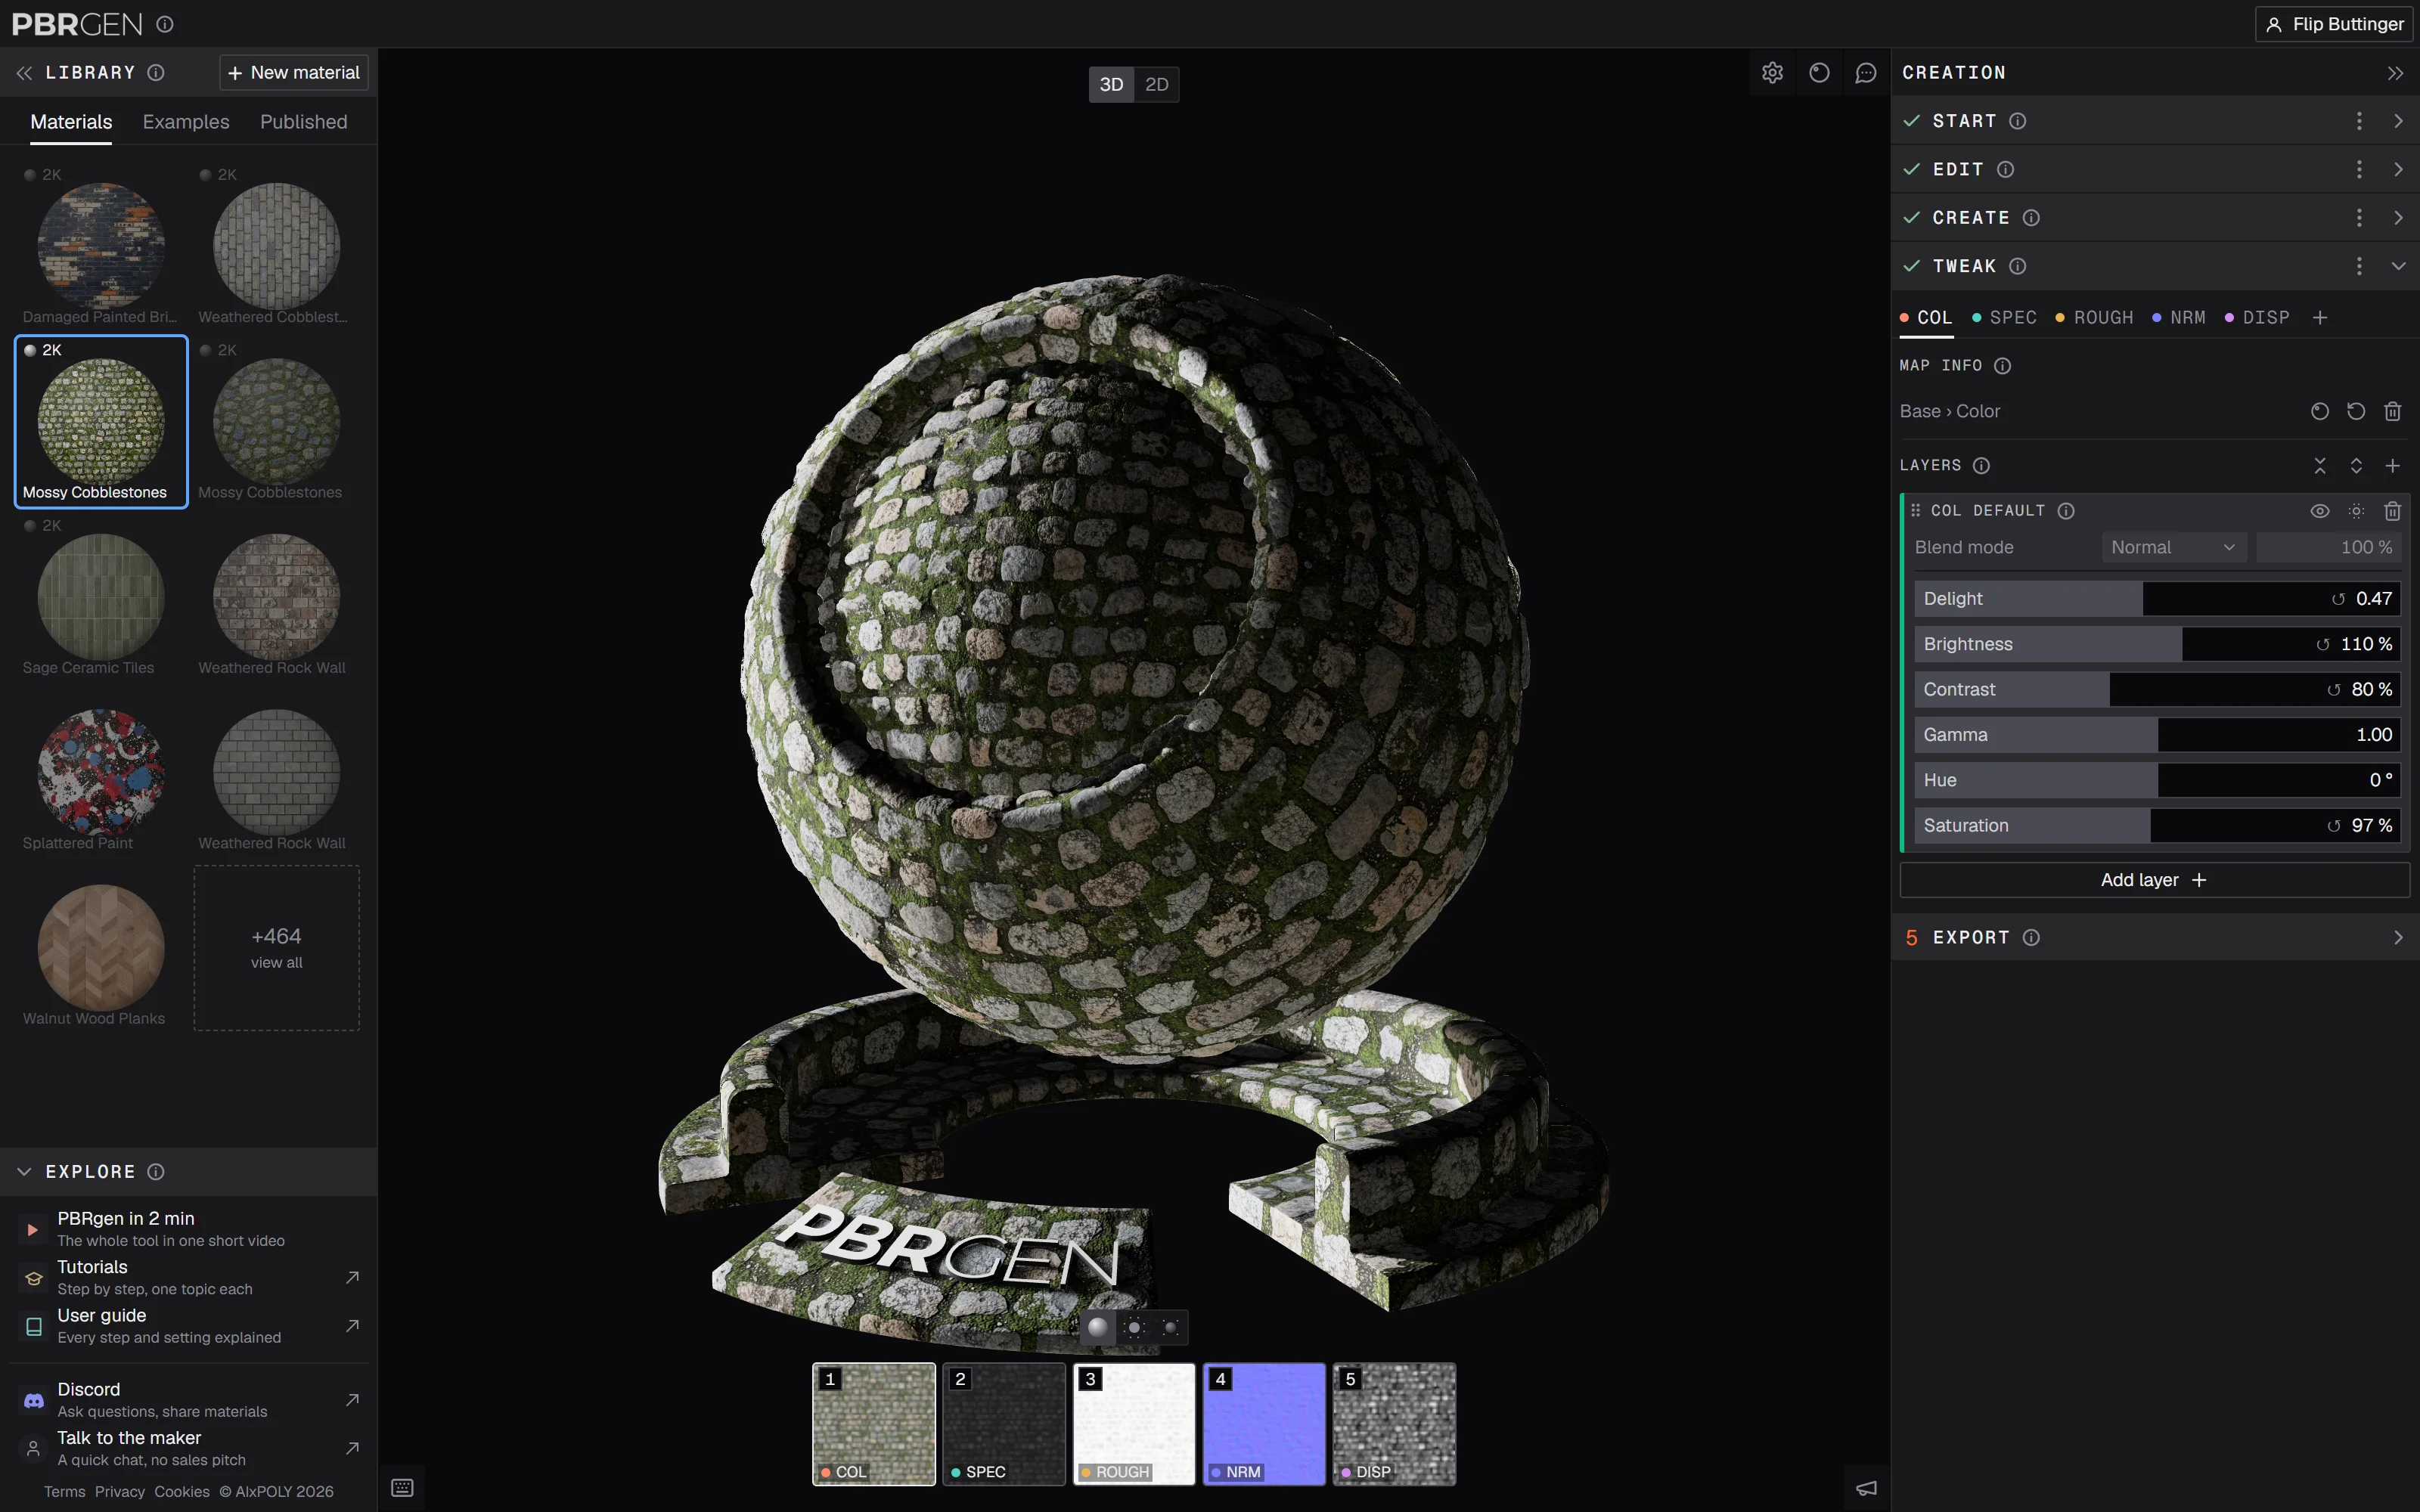
Moving around
| Do this | To |
|---|---|
| Drag with the left mouse button | Turn around the model |
| Scroll | Zoom |
| Drag with the middle mouse button | Pan |
| Drag with the right mouse button | Turn the lighting around the model |
| Alt + drag with the right mouse button | Zoom |
| F | Reset the view |
| R | Auto-rotate on or off |
Turning the lighting is the quickest way to judge a material: watch how the highlights move over the bumps and the shiny parts.
Before and after Create
In steps 1 to 3 there's no material yet, only a texture. The shader ball shows it flat, without light and shadow, and the title says Texture preview, not a material yet. Once Create has made the material, the ball shows it fully lit, with every map.
3D view options
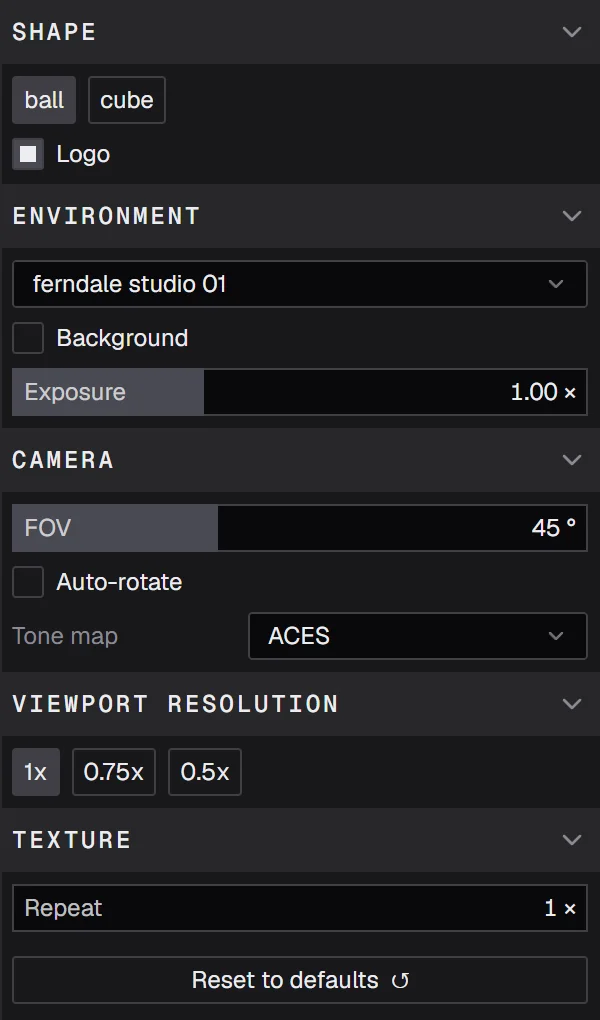
The gear in the row of buttons at the top right opens the 3D view options. Click the gear again to close them.
- Shape: the shader ball or a cube. Logo shows or hides the PBRgen logo on the ball's base.
- Environment: the image that lights the scene, from a studio to a sunny garden or a street at night. Background shows it behind the model. Exposure makes the whole scene brighter or darker.
- Camera: FOV is the field of view, from flat telephoto to wide angle. Auto-rotate turns the model slowly. Tone map sets how bright light is fitted to your screen.
- Viewport Resolution (on high-resolution screens): render at full sharpness, or lower for speed.
- Texture: Repeat sets how many times the material repeats across the model. More repeats make a seam easier to spot.
- Reset to defaults puts every option and the camera back.
The keyboard has shortcuts for most of these: M for the next shape, L for the next environment, + and - for exposure, B for the background, and [ and ] for the repeat.
The other buttons
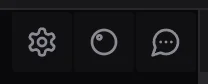
Next to the gear:
The arrows at the right end of the Creation header fold the steps column away, for a bigger 3D view. A button stays in their place to open it again.
At the bottom left, Hotkeys shows every keyboard shortcut for the view. At the bottom right, Send feedback opens a box to tell us what you think, or what went wrong.
Map tiles
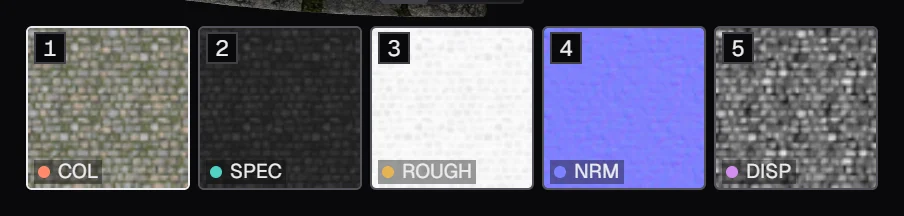
Once a material is made, a row of tiles along the bottom shows every map, in the same order as the Tweak tabs. Hover a tile for the map's full name. When they don't all fit, arrows at the ends scroll the row.
Click a tile to see only that map on the ball, and to open its tab in Tweak. The number keys 1 to 9 and 0 do the same.
View modes
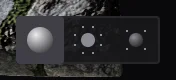
Three buttons under the shader ball decide what the ball shows:
- Full material (Q): the material as it will render.
- Isolate map (W): only the selected map, as flat values on the ball. Good for checking a roughness or metalness map.
- Isolate lobe (E): only the part of the shading the selected map affects, for example just the reflections for ROUGH.
< and > step through the three modes.
2D view
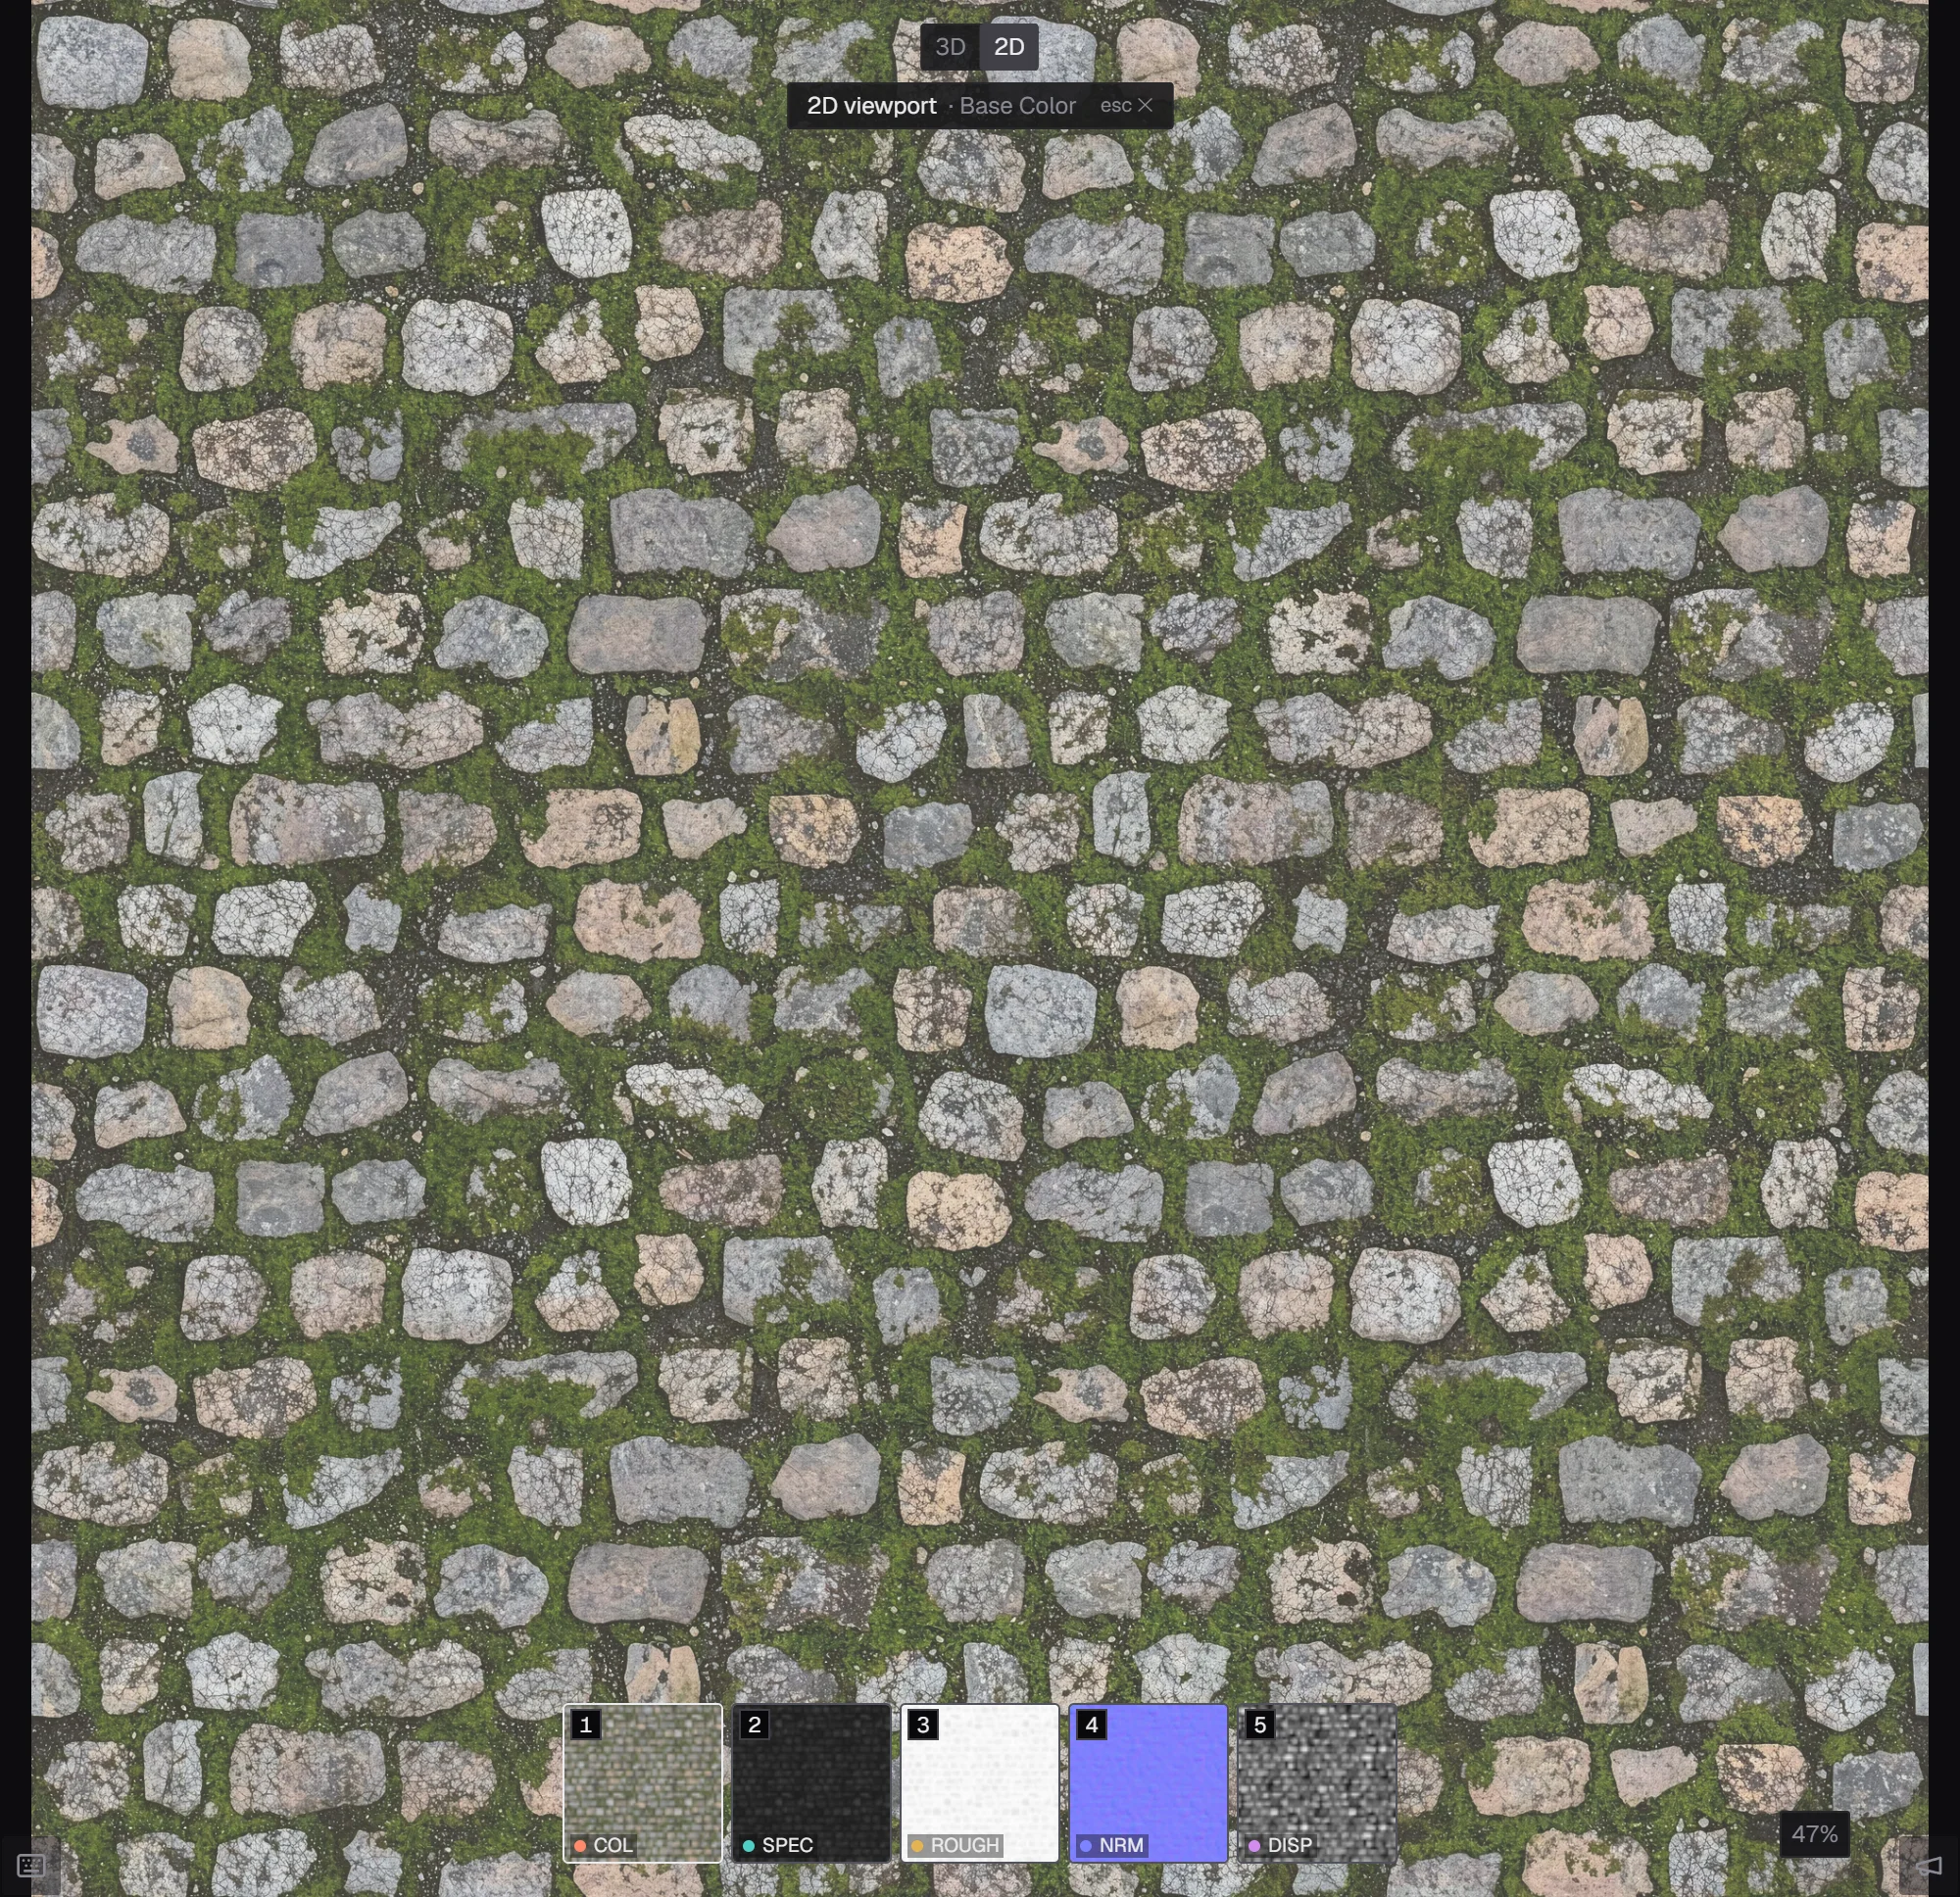
V, or the 2D switch at the top of the view, shows the current texture or map flat, as an image. Every eye button on a texture opens it here too.
| Key | Does |
|---|---|
| T | Show it tiled, to check how it repeats |
| F | Fit to the view |
| Space | Zoom to 100% |
| Drag | Pan |
| Scroll, or Alt + drag | Zoom |
| V | Back to the 3D view |
| Esc | Close |
In Tweak, the 2D view shows the map you're working on, and follows every slider as you drag it.
Prefer video? Our tutorials are on YouTube.